Multi-page Document Annotation
With Label Studio Enterprise, the multi-page document annotation feature allows you to label large multi-page documents more easily and efficiently. You can now upload hundreds of pages as a single document, allowing navigation and annotation on multiple pages while maintaining the entire document’s context. This release eliminates the significant amount of lag in loading the images into the browser and enhances the labeling speed.
Prerequisites
The prerequisites to use the multi-page document annotation detection feature are as follows:
- Before uploading a PDF document to Label Studio, you must pre-process the document by converting it into separate images. However, you can still annotate PDF documents directly, for example, by performing classification on each document page.
- In Label Studio, import all the images into the browser using the following format:
[{ "data": { "pages": [{ "image": "image-1-url" }, { "image": "image-2-url" }, { "image": "image-3-url" }] } }] - Now, check if the projects using Repeater tag is paginated.
Key capabilities supported
The following key capabilities are supported by the multi-page document annotation.
Support one image per screen or one text per screen. This can include a large text, but it should be the only document that requires annotation. In several scenarios, there is a need to annotate multi-page documents. For example, when you have PDF documents that consist of multiple pages then you must annotate the whole document as one task. This implies the annotator receives this one multi-page document for annotation.
Use Hot-key driven annotation using the left arrow key to move upwards and the right arrow key to move downwards in a multi-page document.
Introduce API driven process to customize the pagination in a multi-page document.
Help companies and organizations that deal with large, complex documents, including extensive research papers and healthcare, legal, or financial documents that run between dozens and hundreds of pages long.
Labeling configuration
The simplest way to work with multi-page document annotation is to go in project settings and specify the following labeling configuration.
<View>
  <Repeater on="$images" indexFlag="{{idx}}" mode="pagination">
    <Image name="page_{{idx}}" value="$images[{{idx}}].url"/>
    <Header value="Utterance Review"/>
    <RectangleLabels name="labels_{{idx}}" toName="page_{{idx}}">
      <Label value="Document Title" />
      <Label value="Document Date" />
    </RectangleLabels>
    <Taxonomy
              name="categories_{{idx}}"
              toName="page_{{idx}}"
              perRegion="true"
              visibleWhen="region-selected"
              >
    <Choices name="utterance_action_{{idx}}" showInline="true" toName="user_{{idx}}">
      <Choice value="Archaea"/>
      <Choice value="Bacteria"/>
      <Choice value="Eukarya">
        <Choice value="Human"/>
        <Choice value="Oppossum"/>
        <Choice value="Extraterrestrial"/>
      </Choices>
  </Taxonomy>
  </Repeater>
</View>
About the labeling configuration
All labeling configurations must be wrapped in View tags.
You can add a header tag to provide instructions to the annotator:
<Header>Label the video:</Header>Use the Repeater tag to annotate multiple data objects in a dynamic range with the same semantics. You can loop through data items in a python-like for cycle in the labeling process.
It repeats tags inside it for every item in a given data array from your dataset. All the occurrences of indexFlag (default is {{idx}}) in parameter values will be replaced by the current index.
Names should always be unique, so you can use this placeholder in tag names. The Repeater tag supports the mode property. This creates the possibility to enable pagination in Repeater for performance improvement. You can add a parameter <Repeater mode="pagination" ...> to show only one page at a time, shrinking memory used to one tag set.
<Repeater on="$images" indexFlag="{{idx}}" mode="pagination">Use the Choices tag to create a group of choices, with radio buttons, or checkboxes.
<Choices name="utterance_action_{{idx}}" showInline="true" toName="user_{{idx}}">Label Studio UI enhancements
The multi-page document annotation feature includes the following UI enhancements:
Ability to add
<Repeater mode="pagination" ...>parameter in the Repeater tab labeling configuration.A pagination box that appears on every page (in a multi-page document) that allows quick navigation to the first page, last page, or specific page efficiently.
An option to use Outliner for scrolling from one page to another in a multi-page document.
Use cases
The multi-page document annotation feature provides the following use cases:
Draw bounding boxes
To draw bounding boxes over some specific elements inside a multi-page (100 pages) PDF document:
- Convert the PDF document into 100 images because as per this example, there are 100 pages in a PDF document.
- Store the images to create a task (with 100 images).
- Import data as JSON tasks with the list of 100 images.
- When the interface is loaded with 100 images, you can draw bounding boxes inside the images. You can also use the Repeater tag with pagination to navigate back and forth throughout these multi-page documents and annotate images.
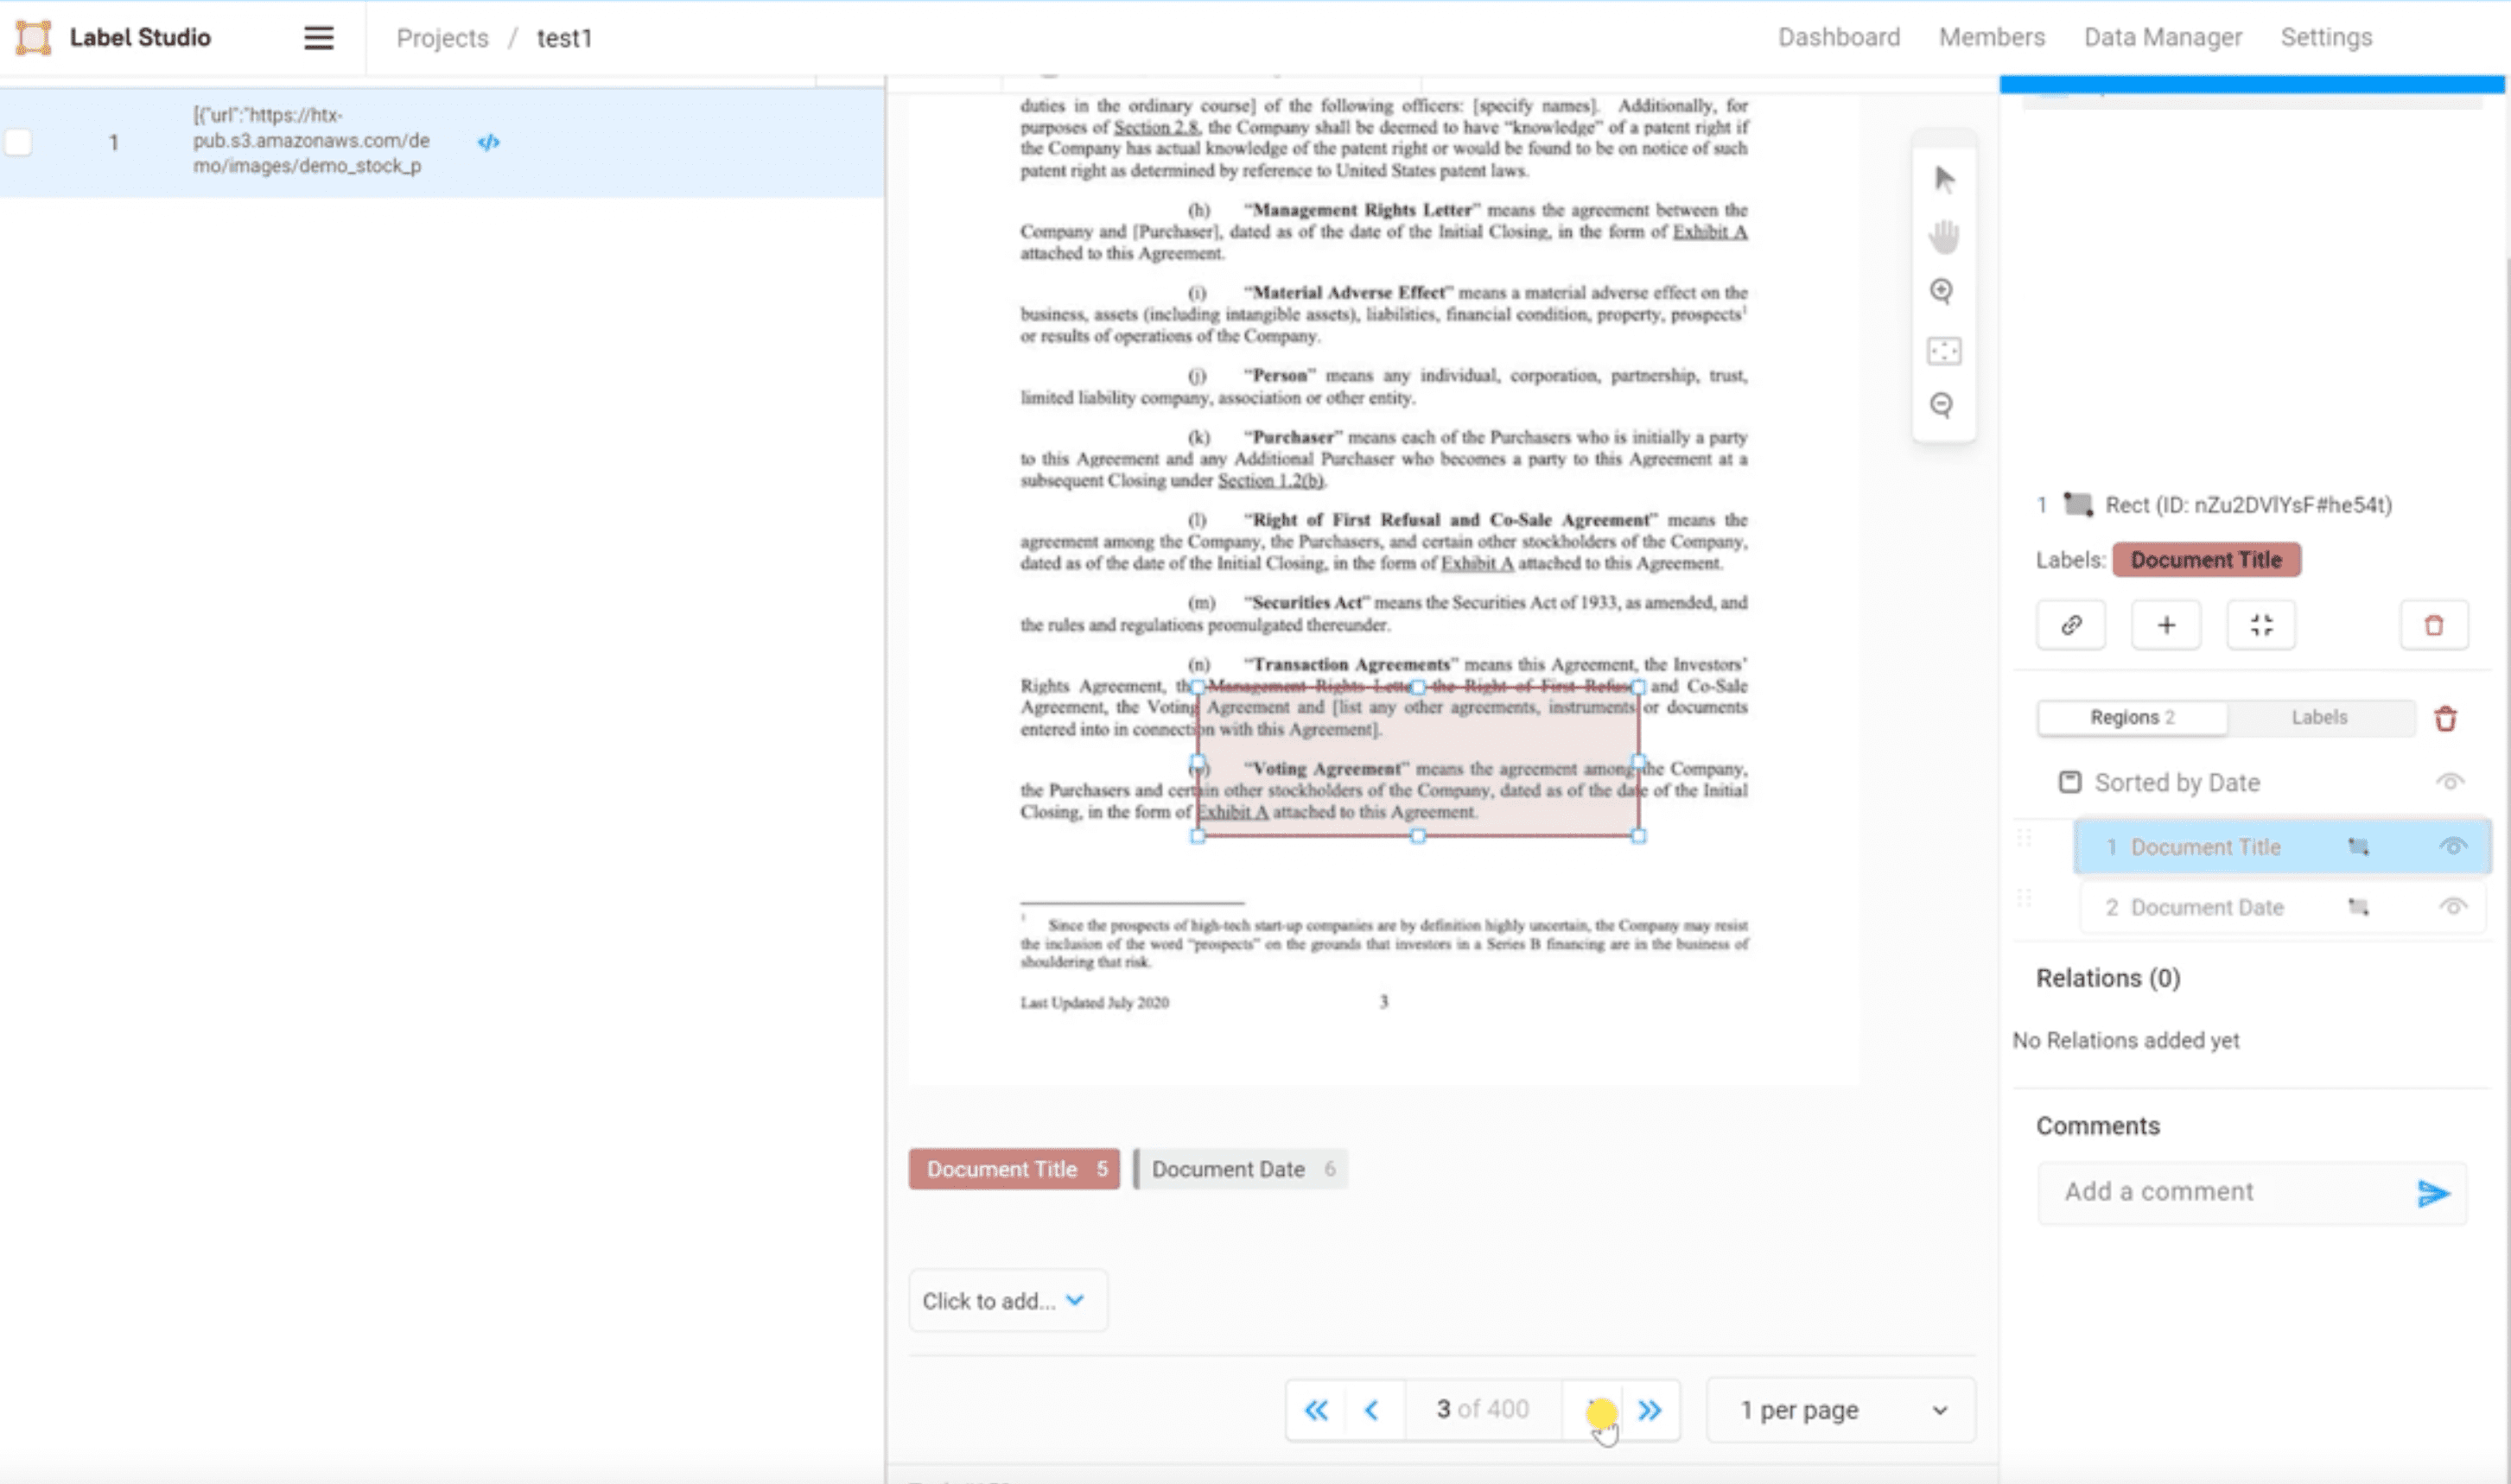
Figure 1: Use bounding boxes.
Page scroll
By default, the multi-page document annotation did not support pagination as shown in Figure 2.
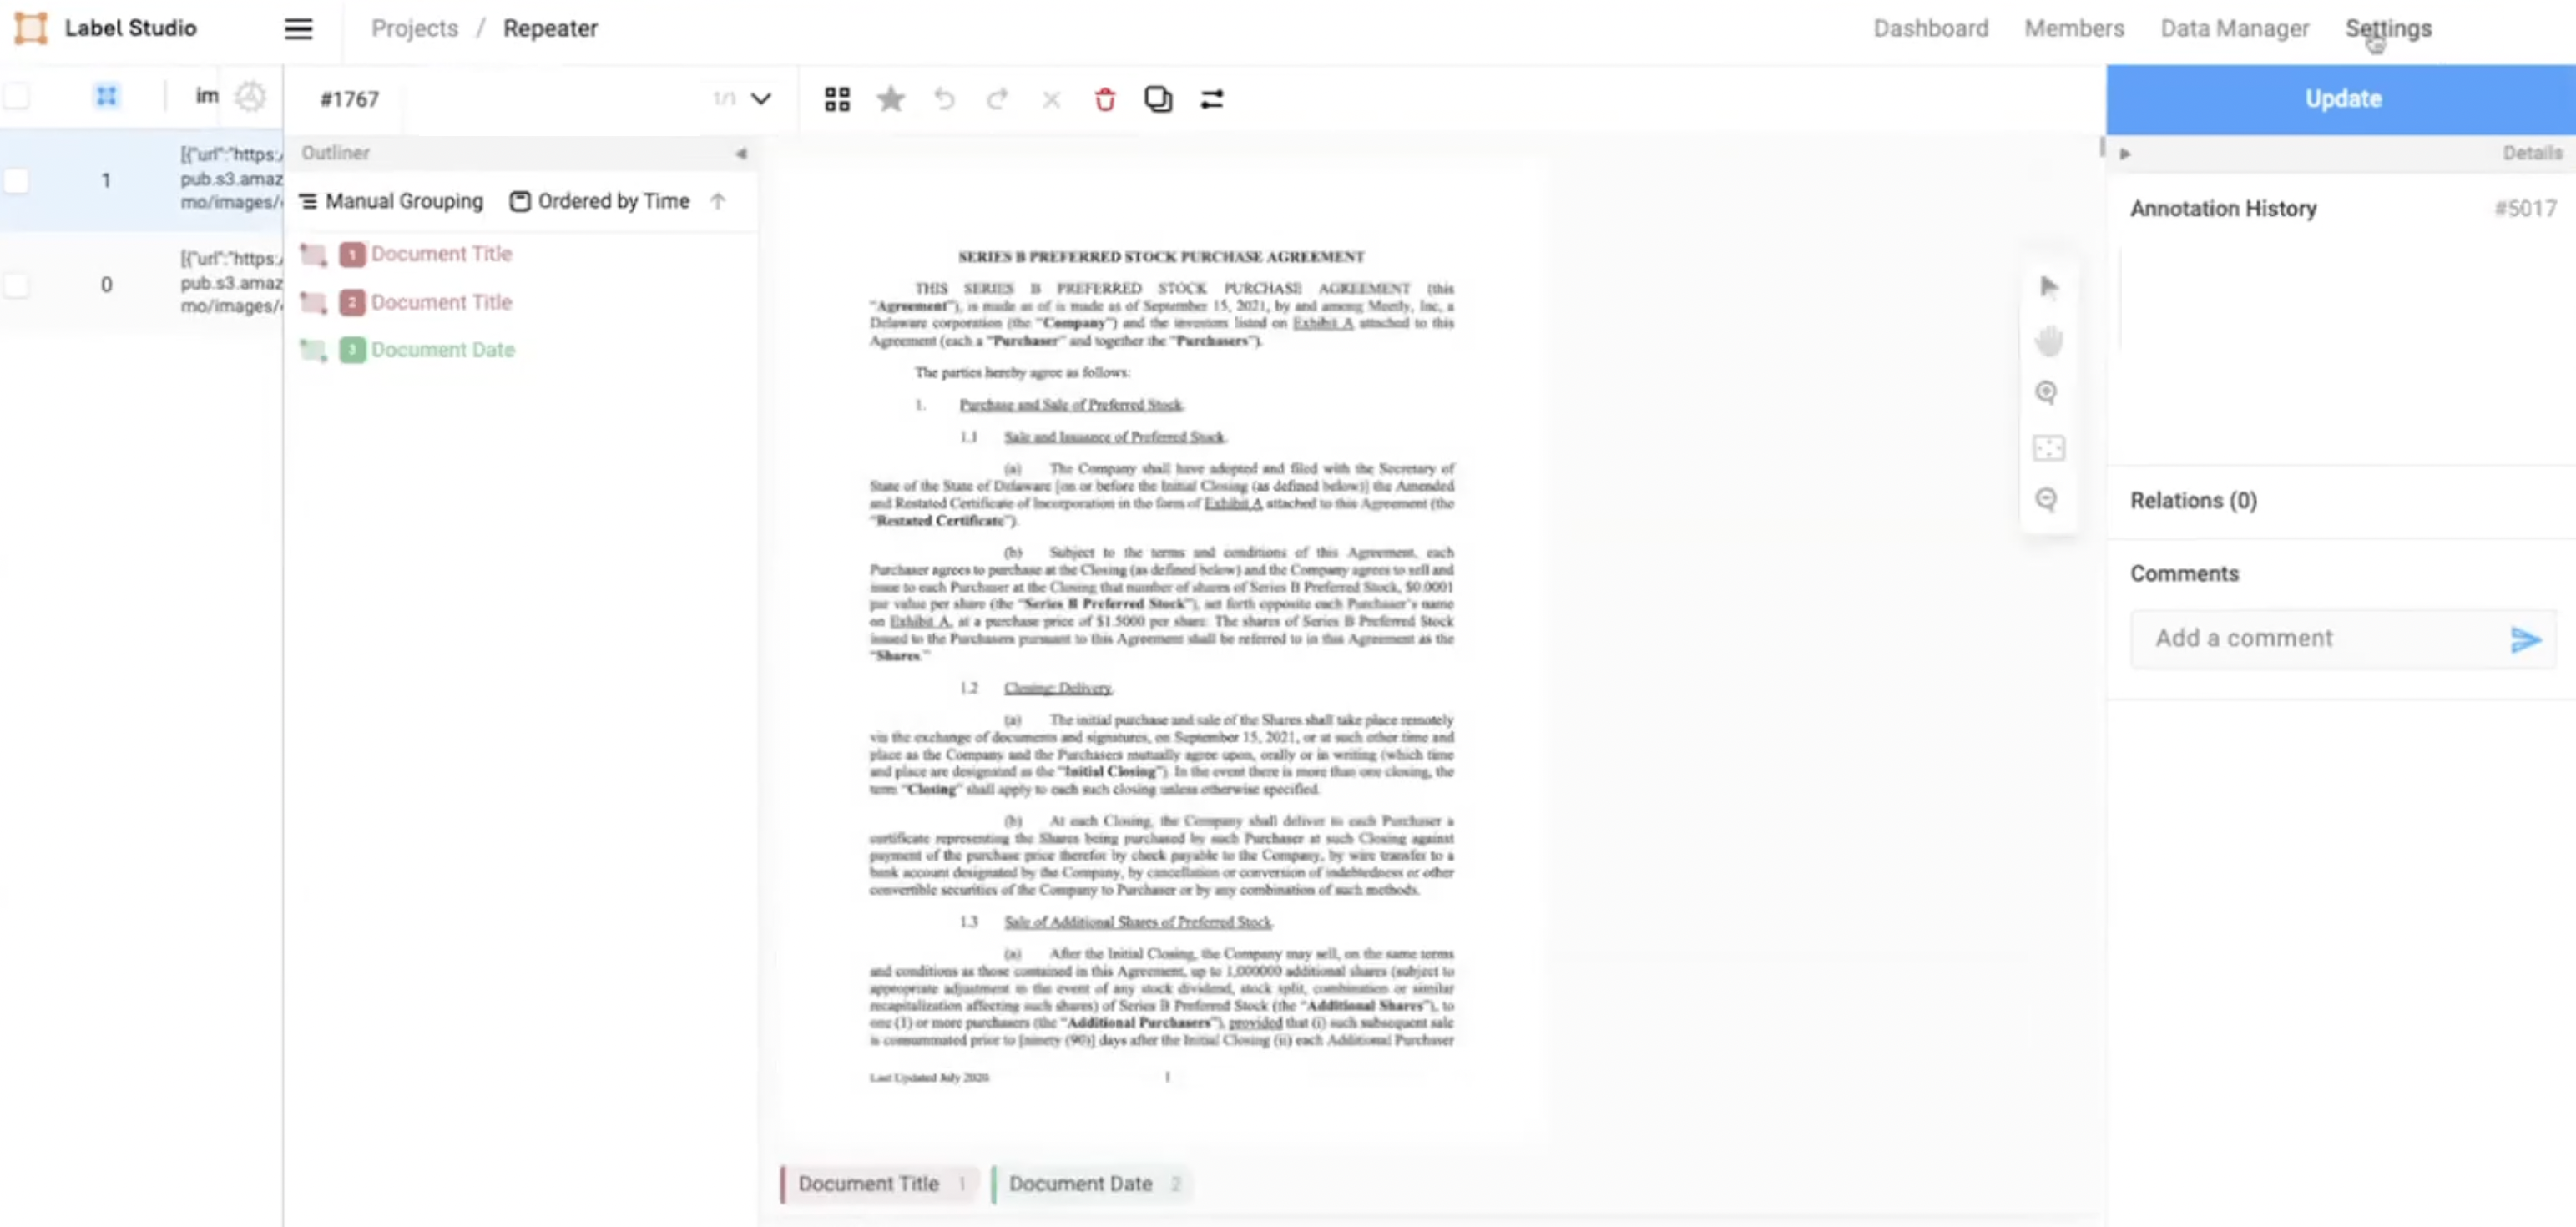
Figure 2: Without pagination.
To find a page or a specific page number, use your mouse pad to scroll down the multi-page document.
Page navigation control
You can use mode property to the Repeater tag and the multi-page document annotation with pagination capability to annotate multiple pages in a single document:
- In the Label Studio UI, navigate to Settings >> Labeling Interface >> Code.
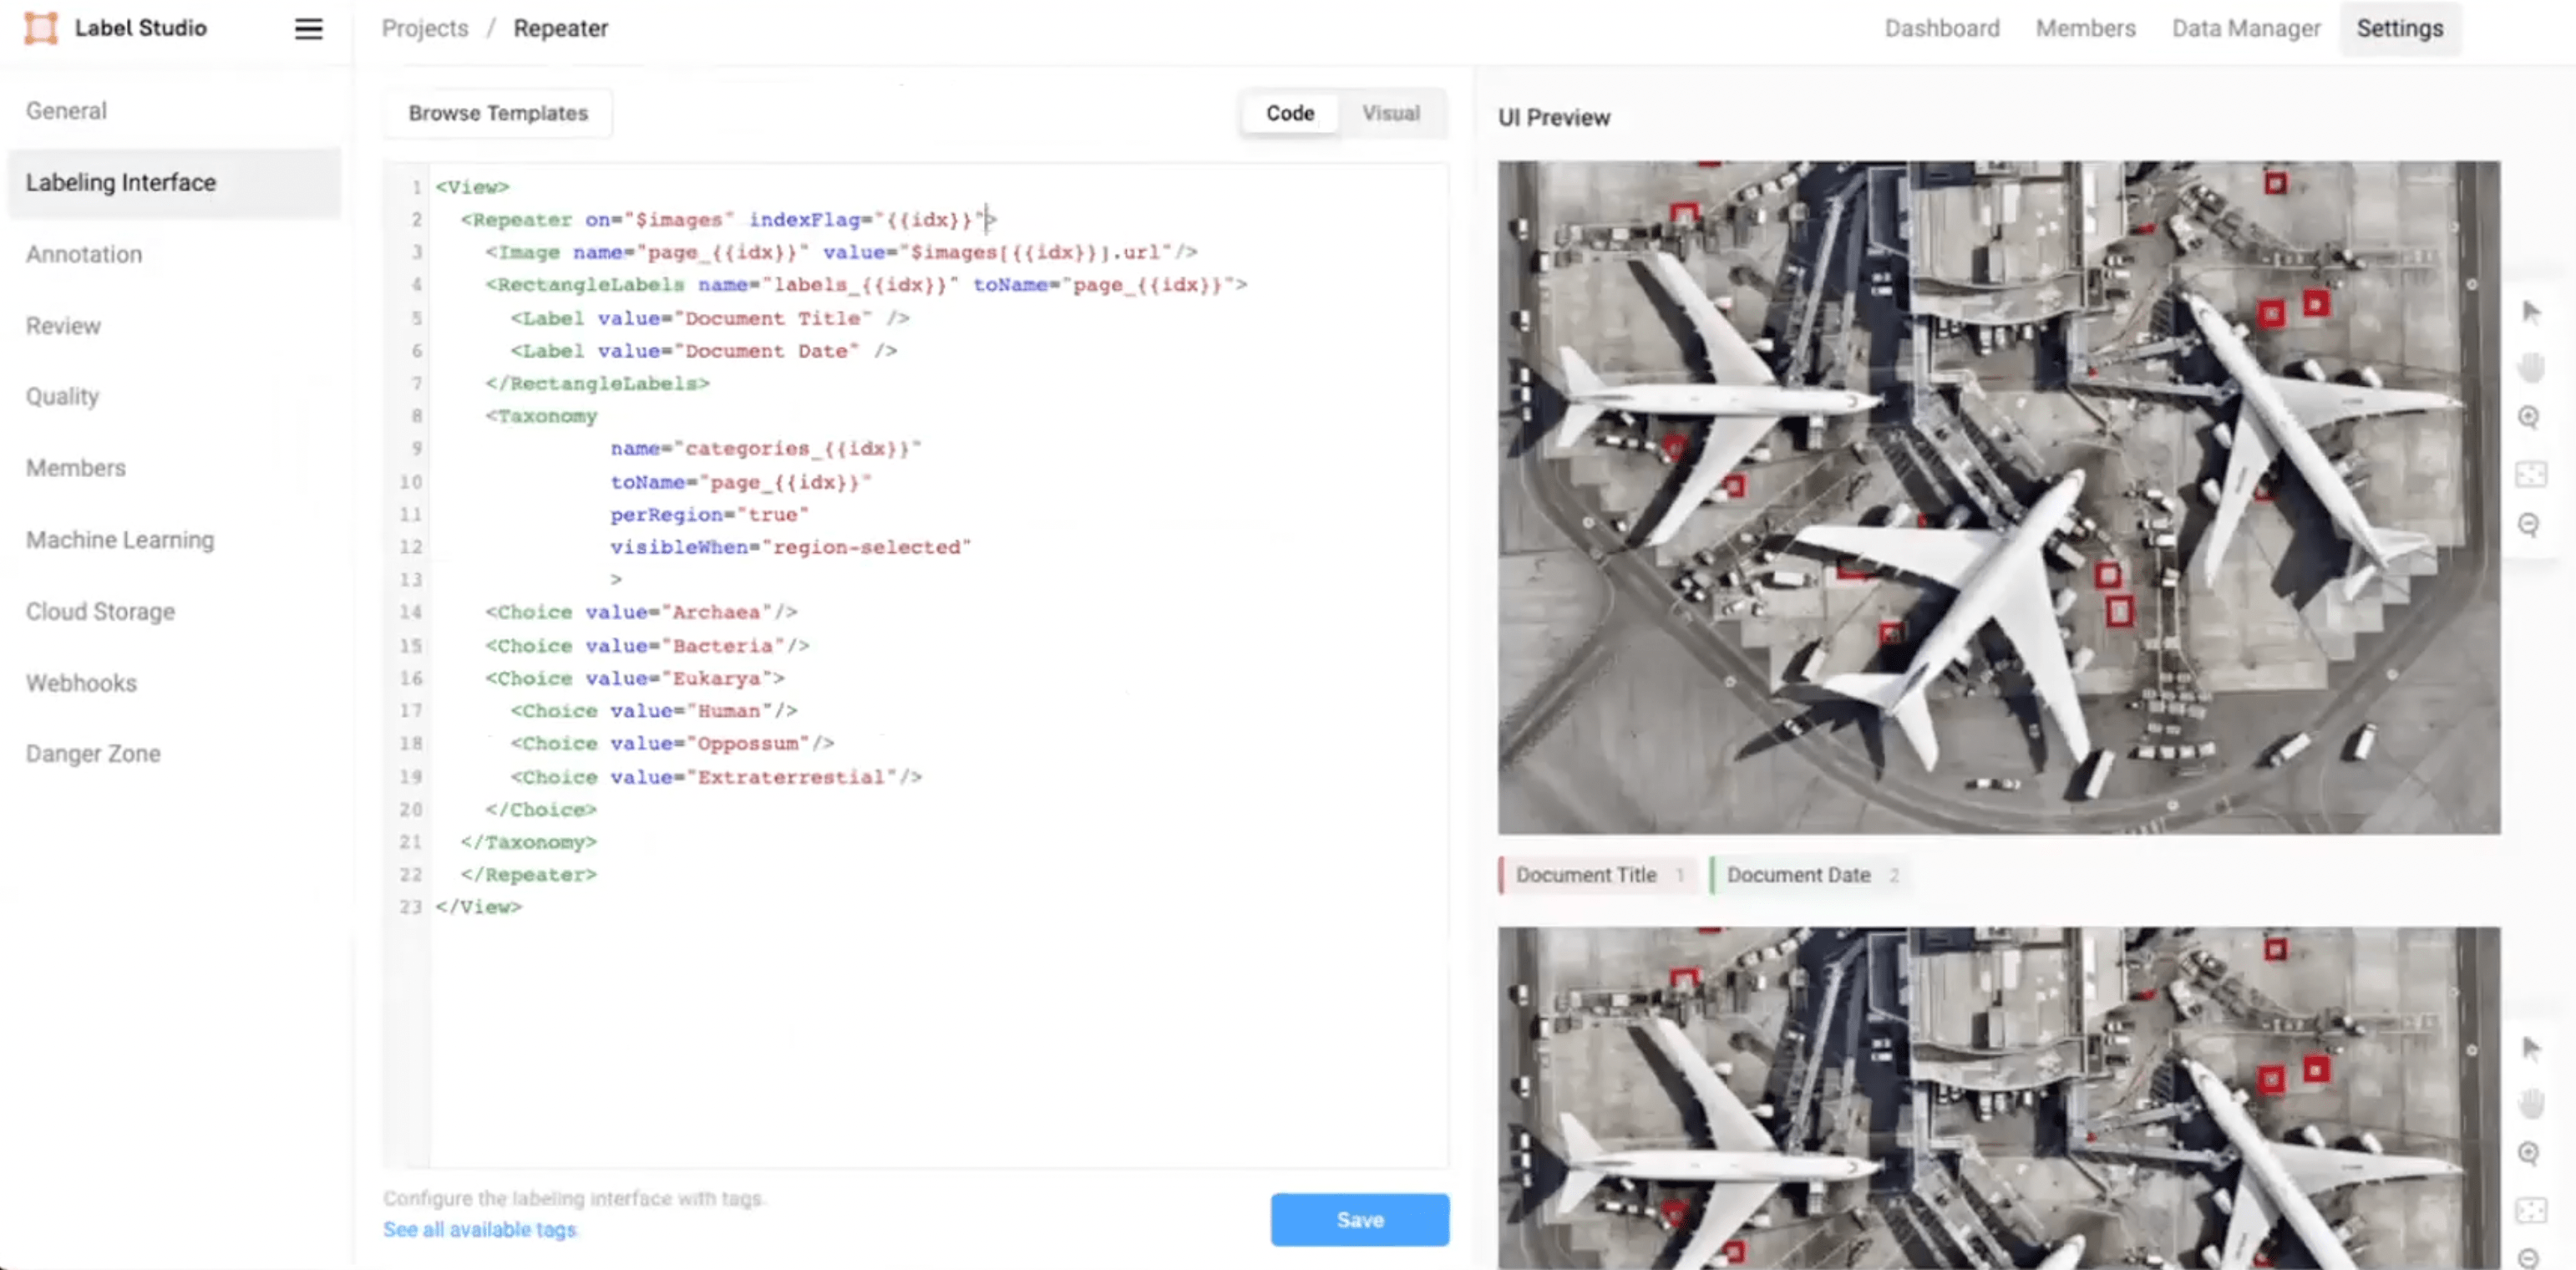
Figure 3: Location to add mode pagination.
- Add mode=”pagination” inside the Repeater tag.
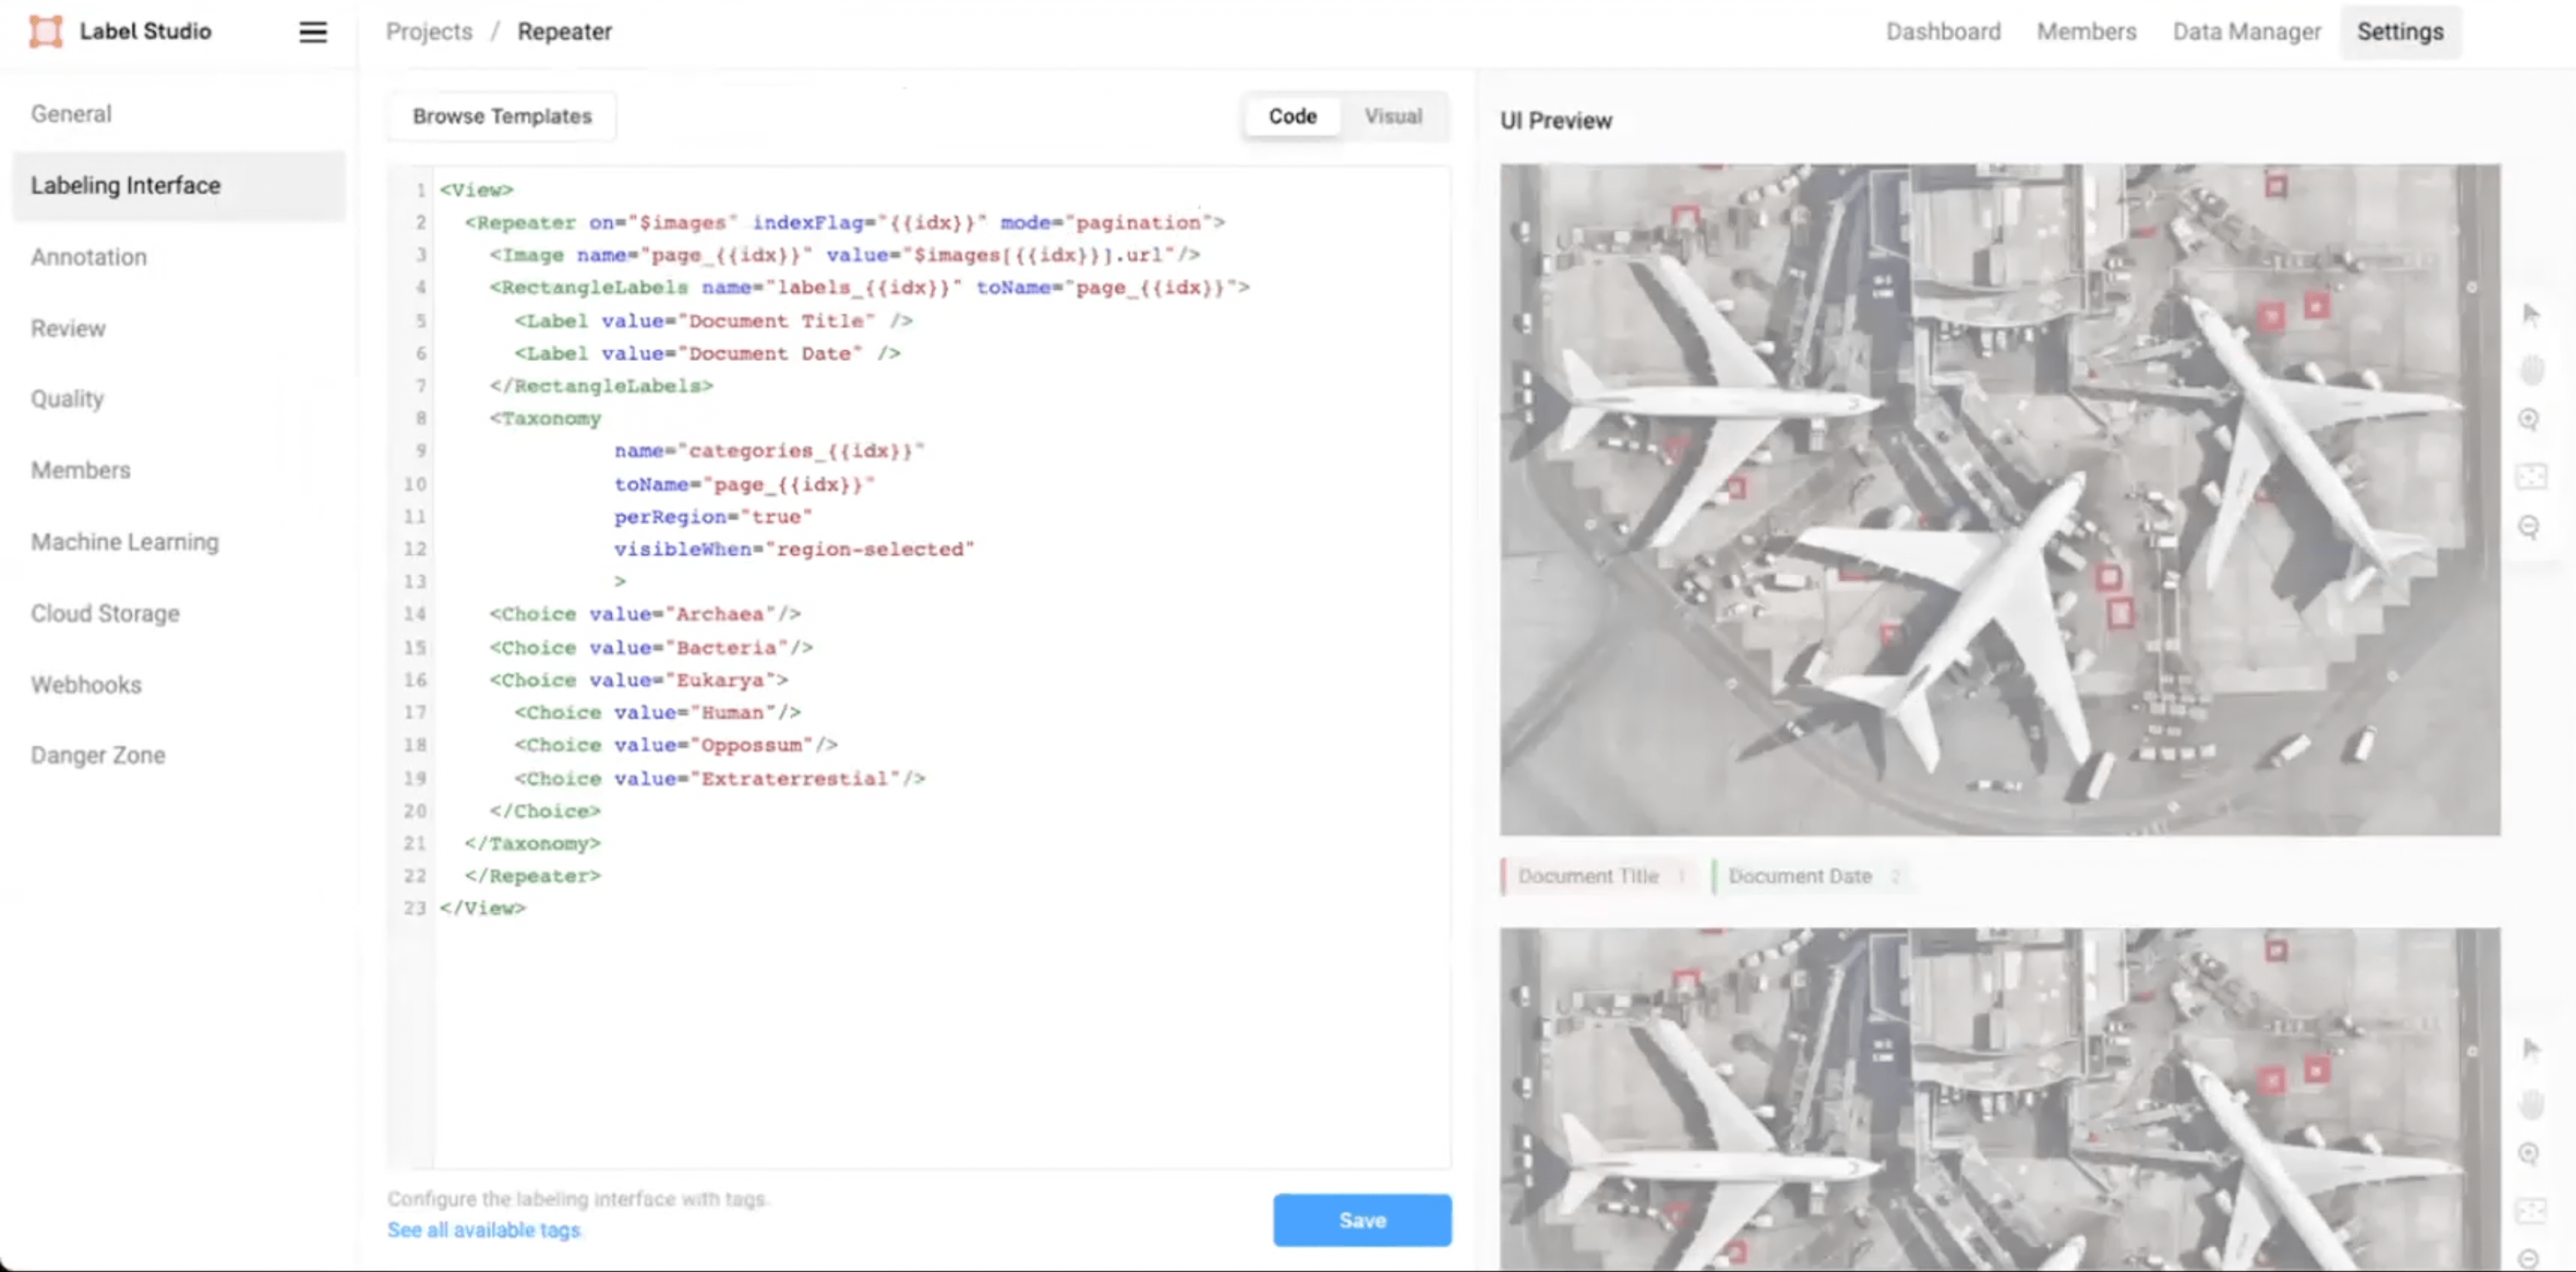
Figure 4: Added mode property.
- Now, return to the previous screen and click on the task.
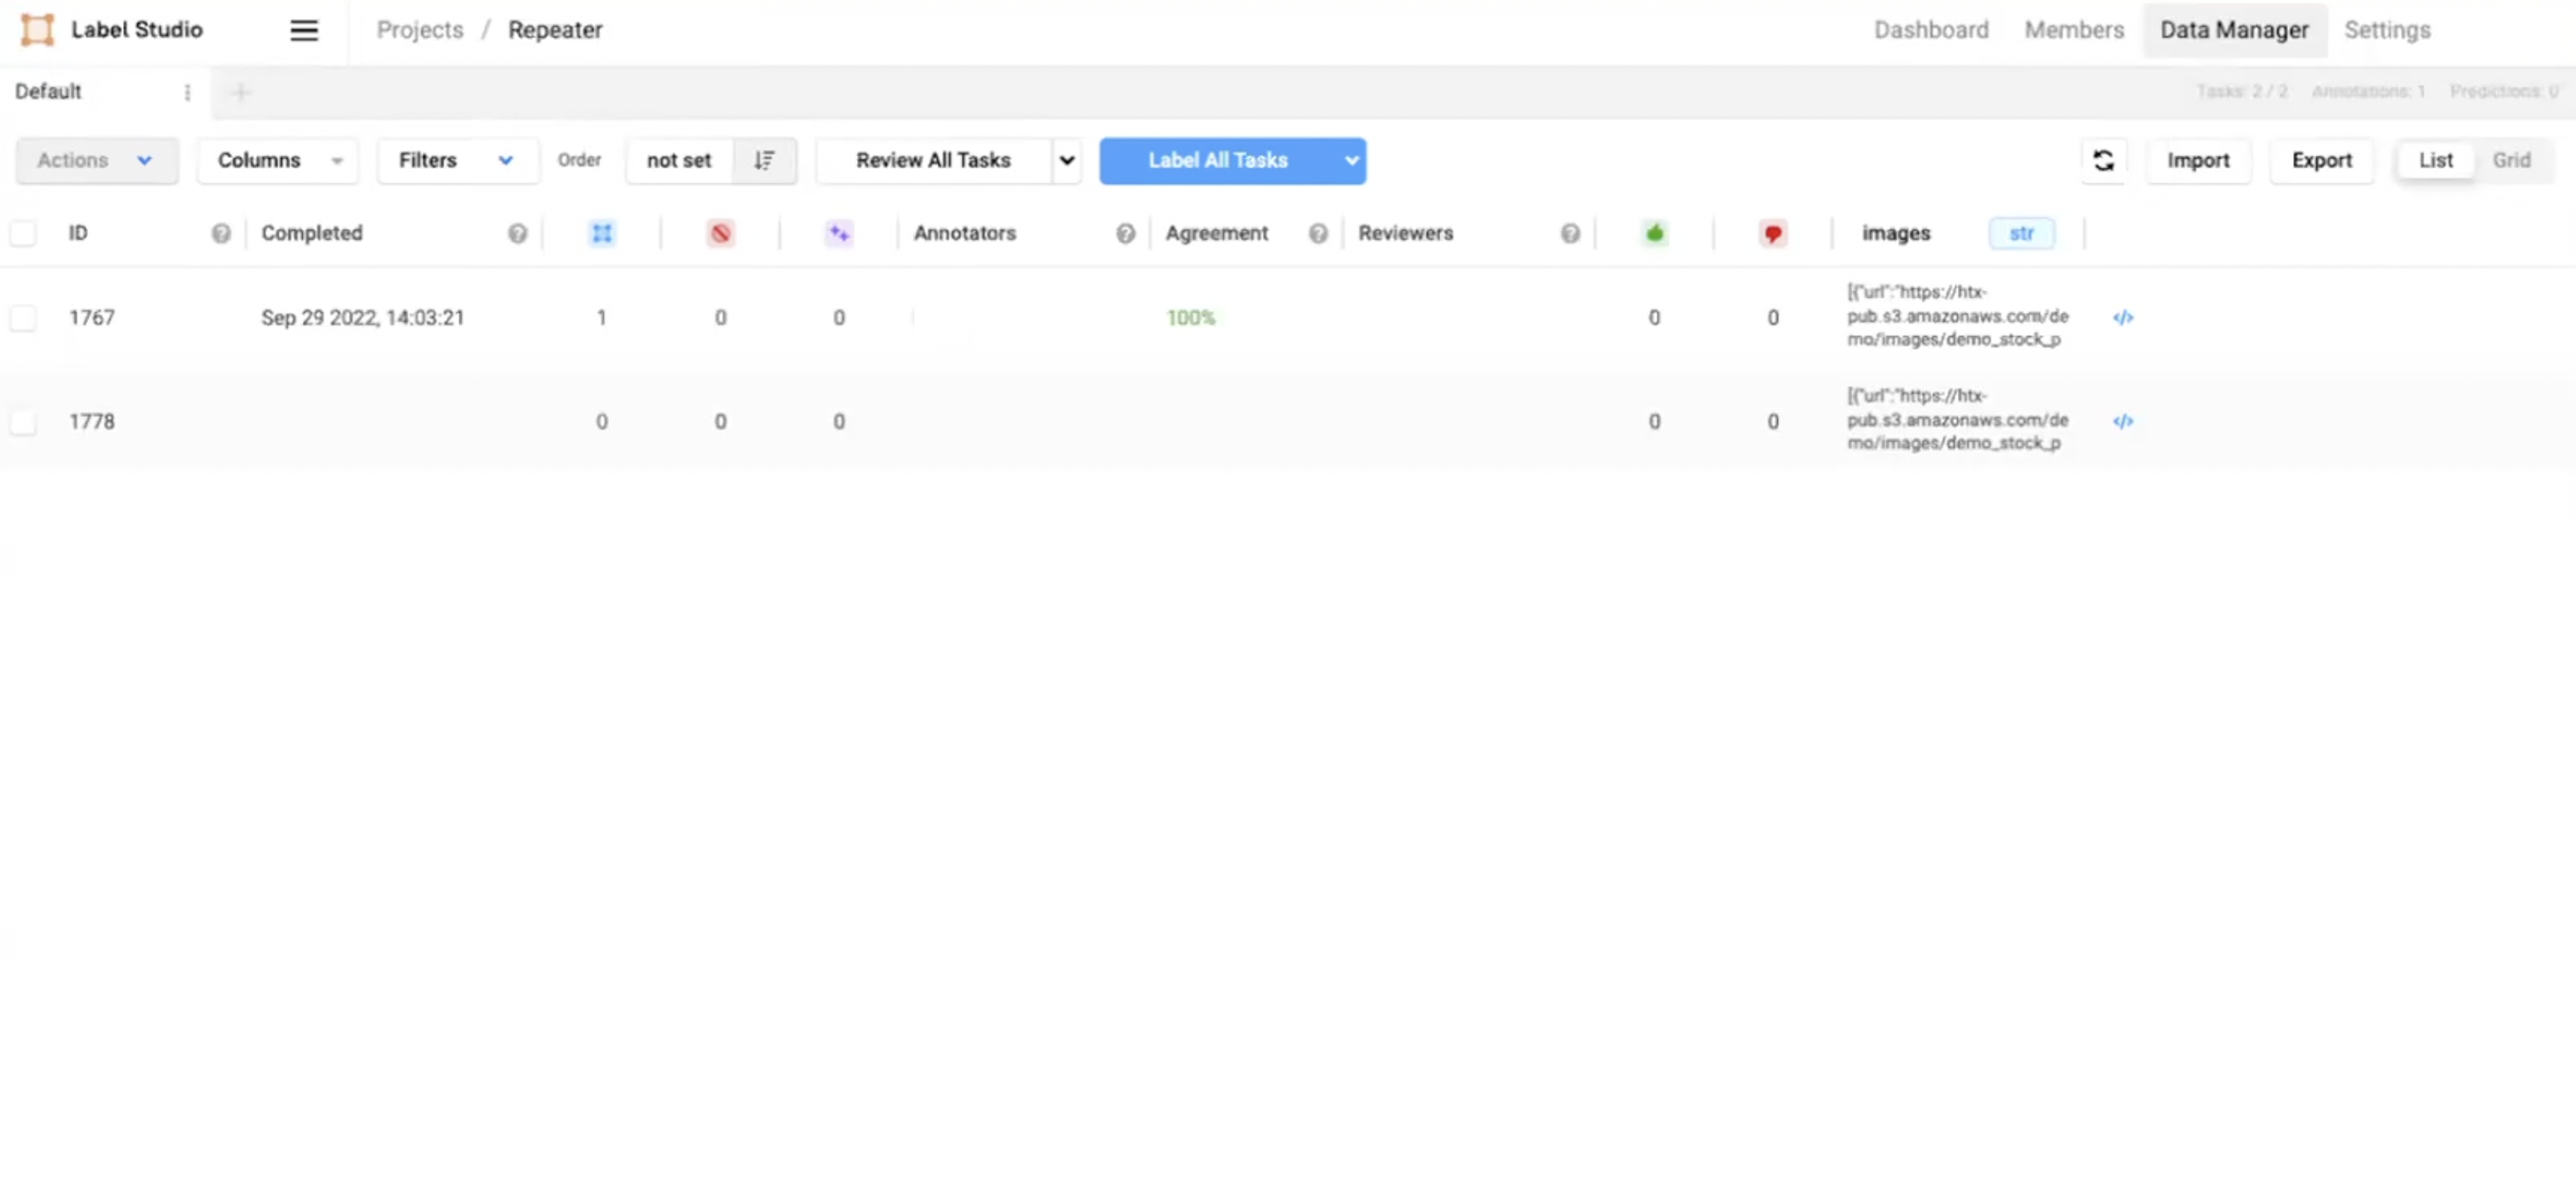
Figure 5: Return to the previous screen.
- The pagination feature is available in the UI preview window.
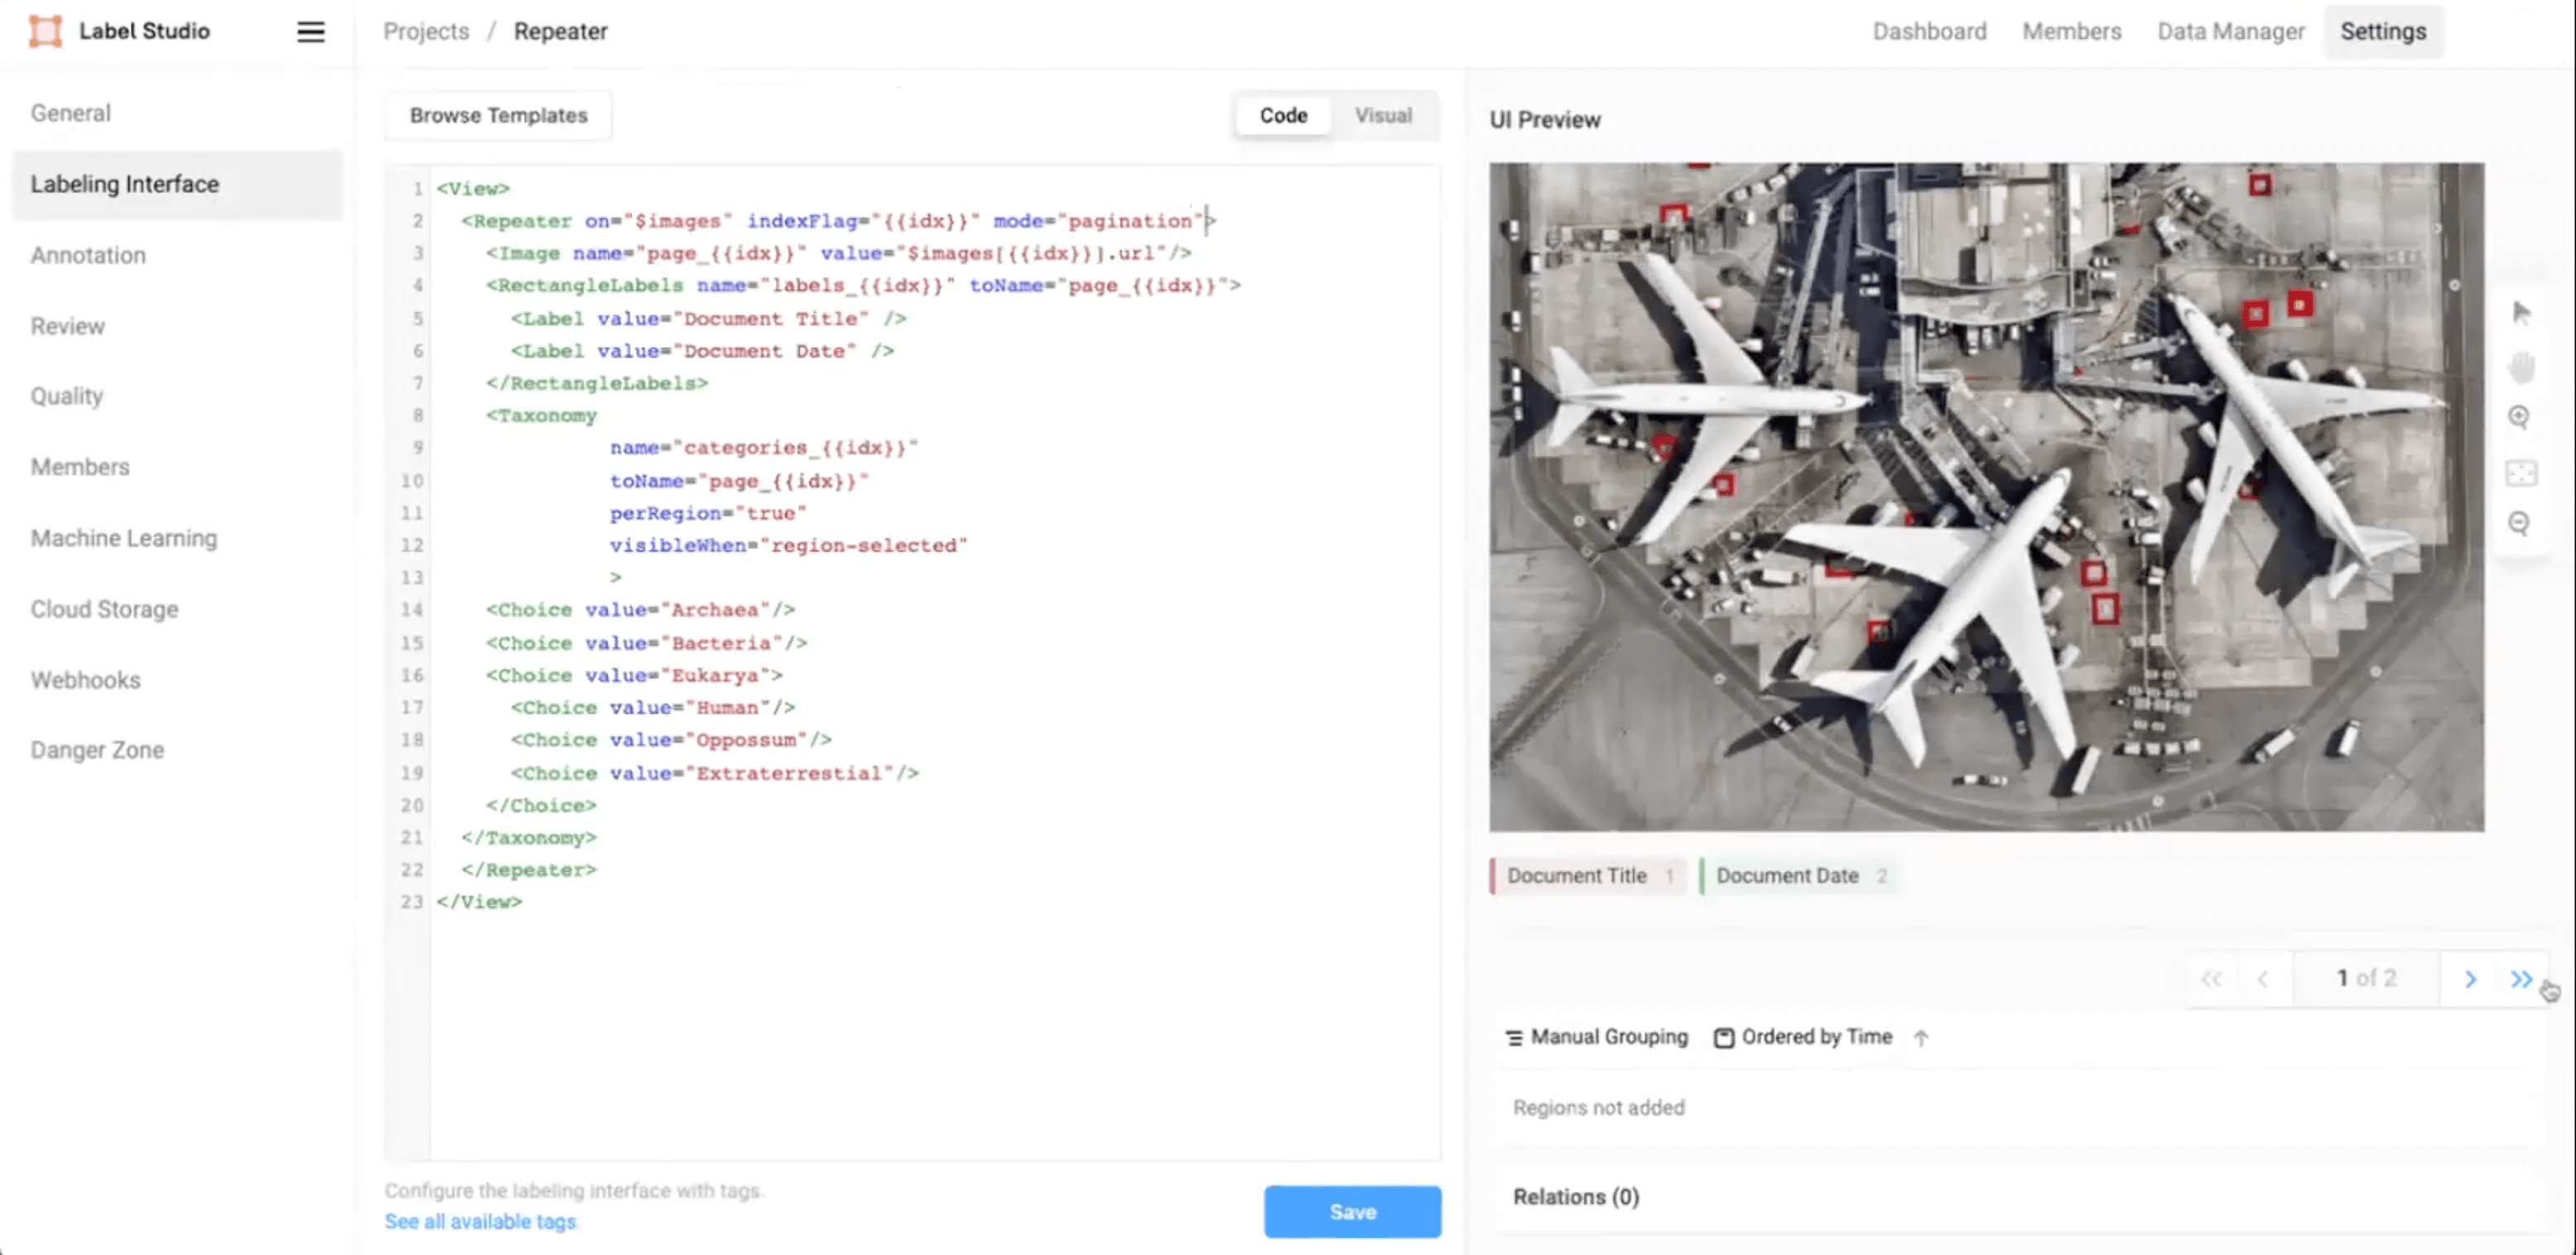
Figure 6: Pagination option in the UI preview.
- The pagination option is now available on every page of the multi-page document.
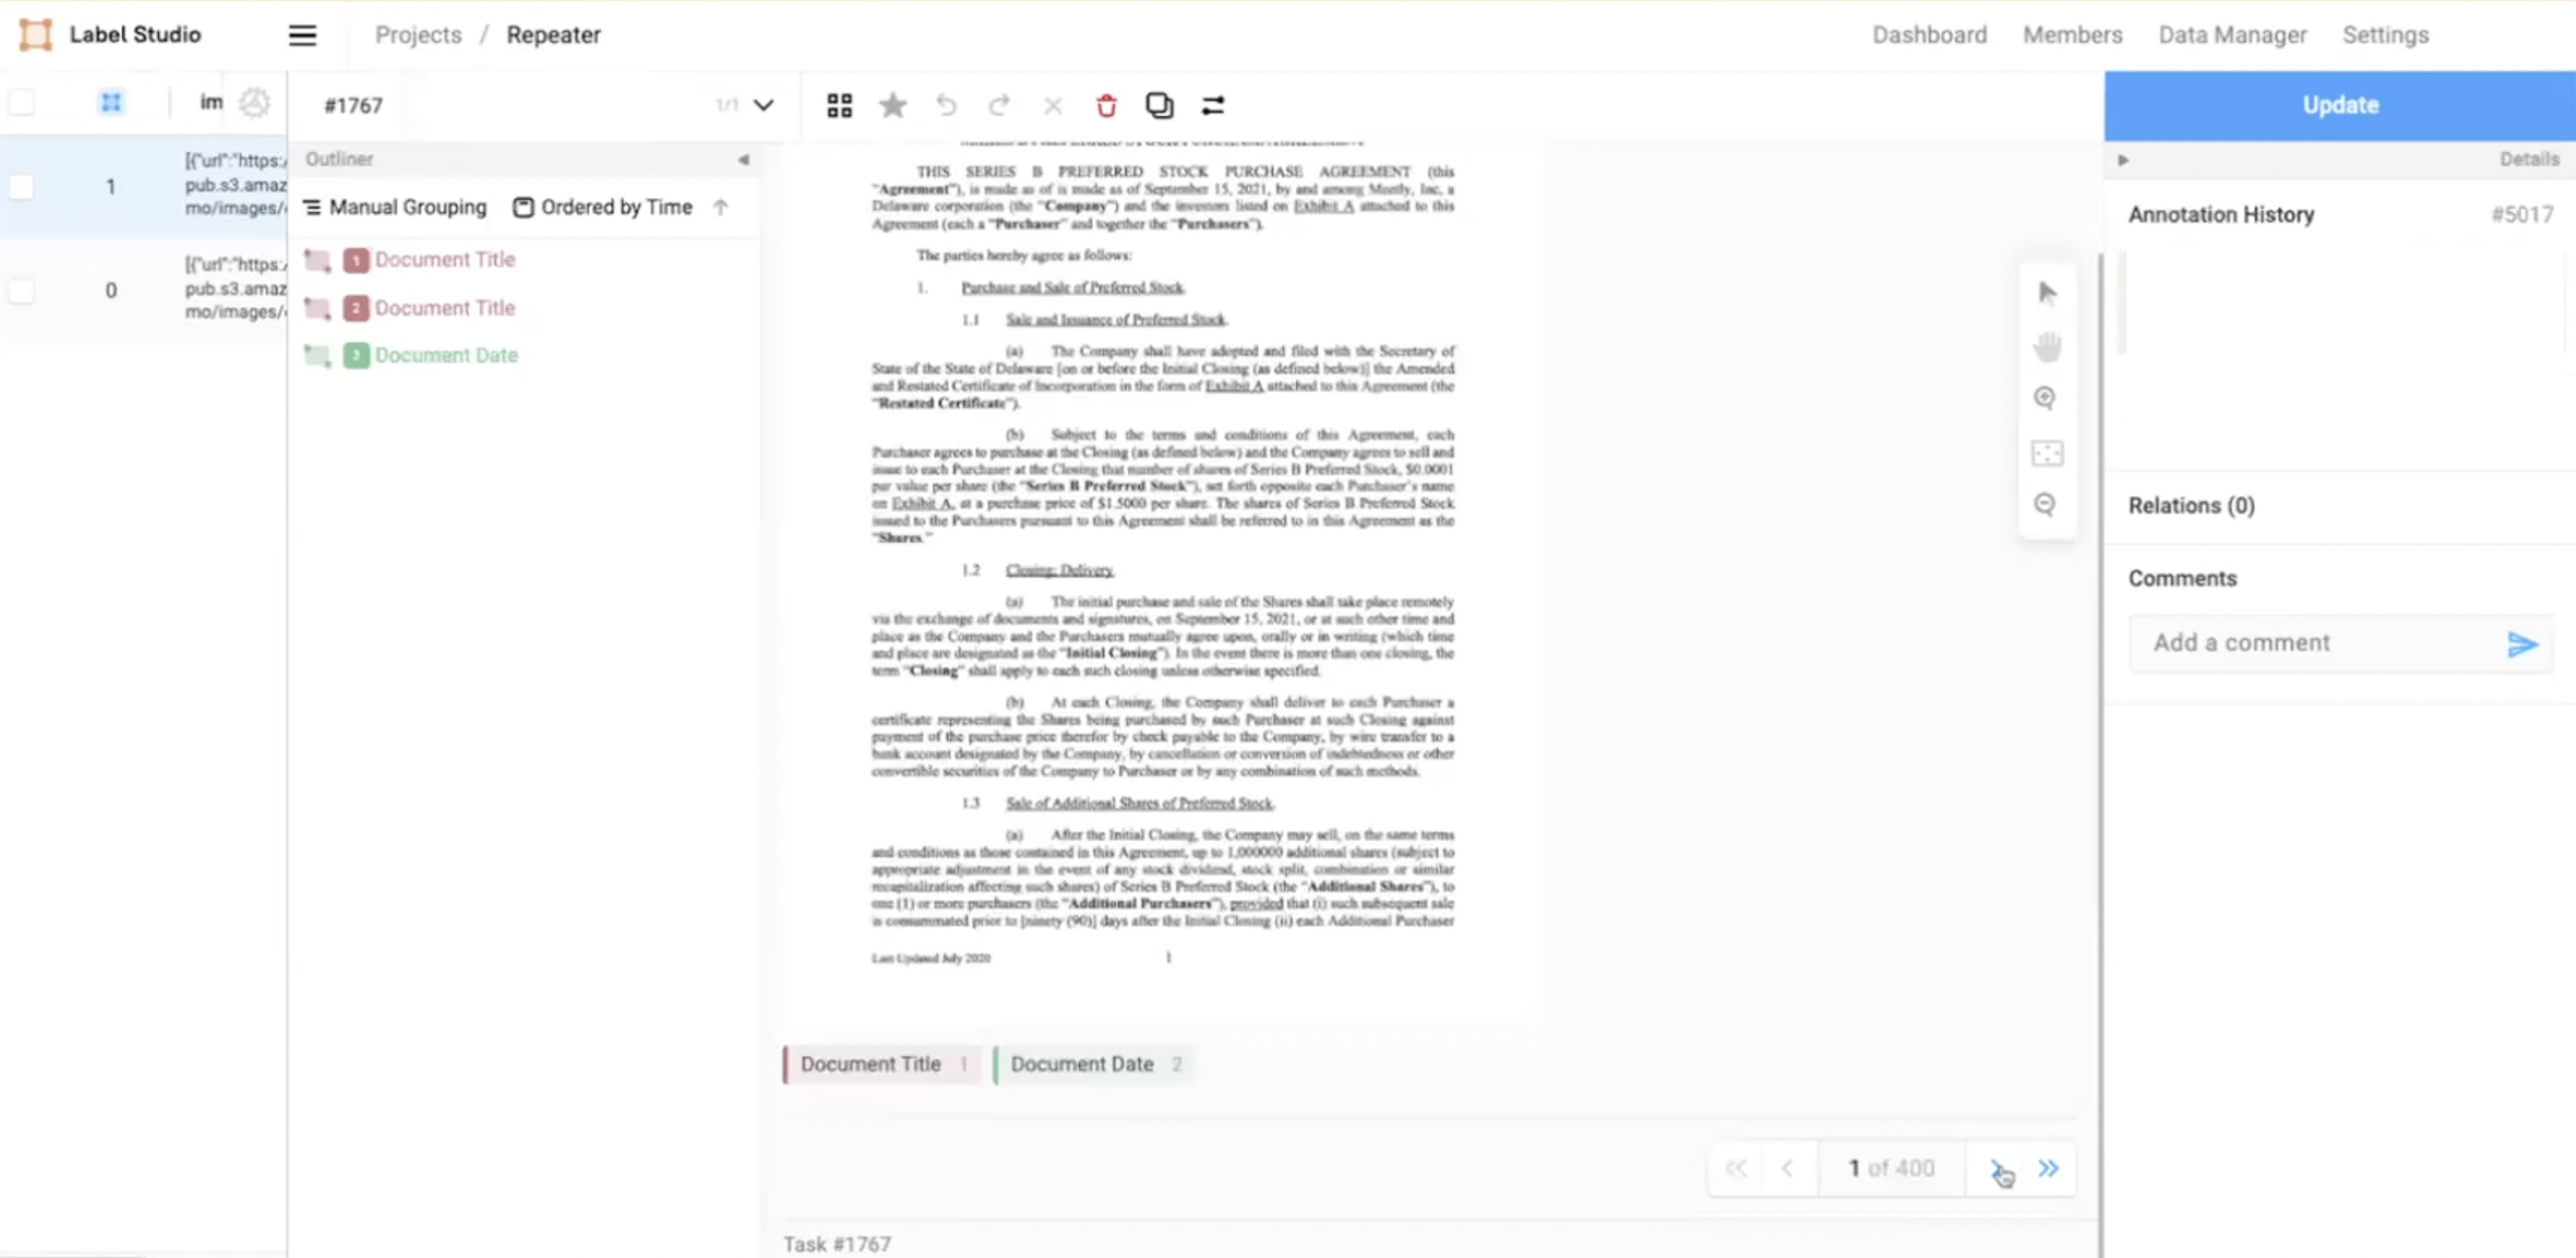
Figure 7: Pagination option on every page.
To find a page or a specific page number, use the navigation buttons in the pagination box.
- Click the
<<button to navigate to the first page and click the<button to navigate to the previous page in a multi-page document.
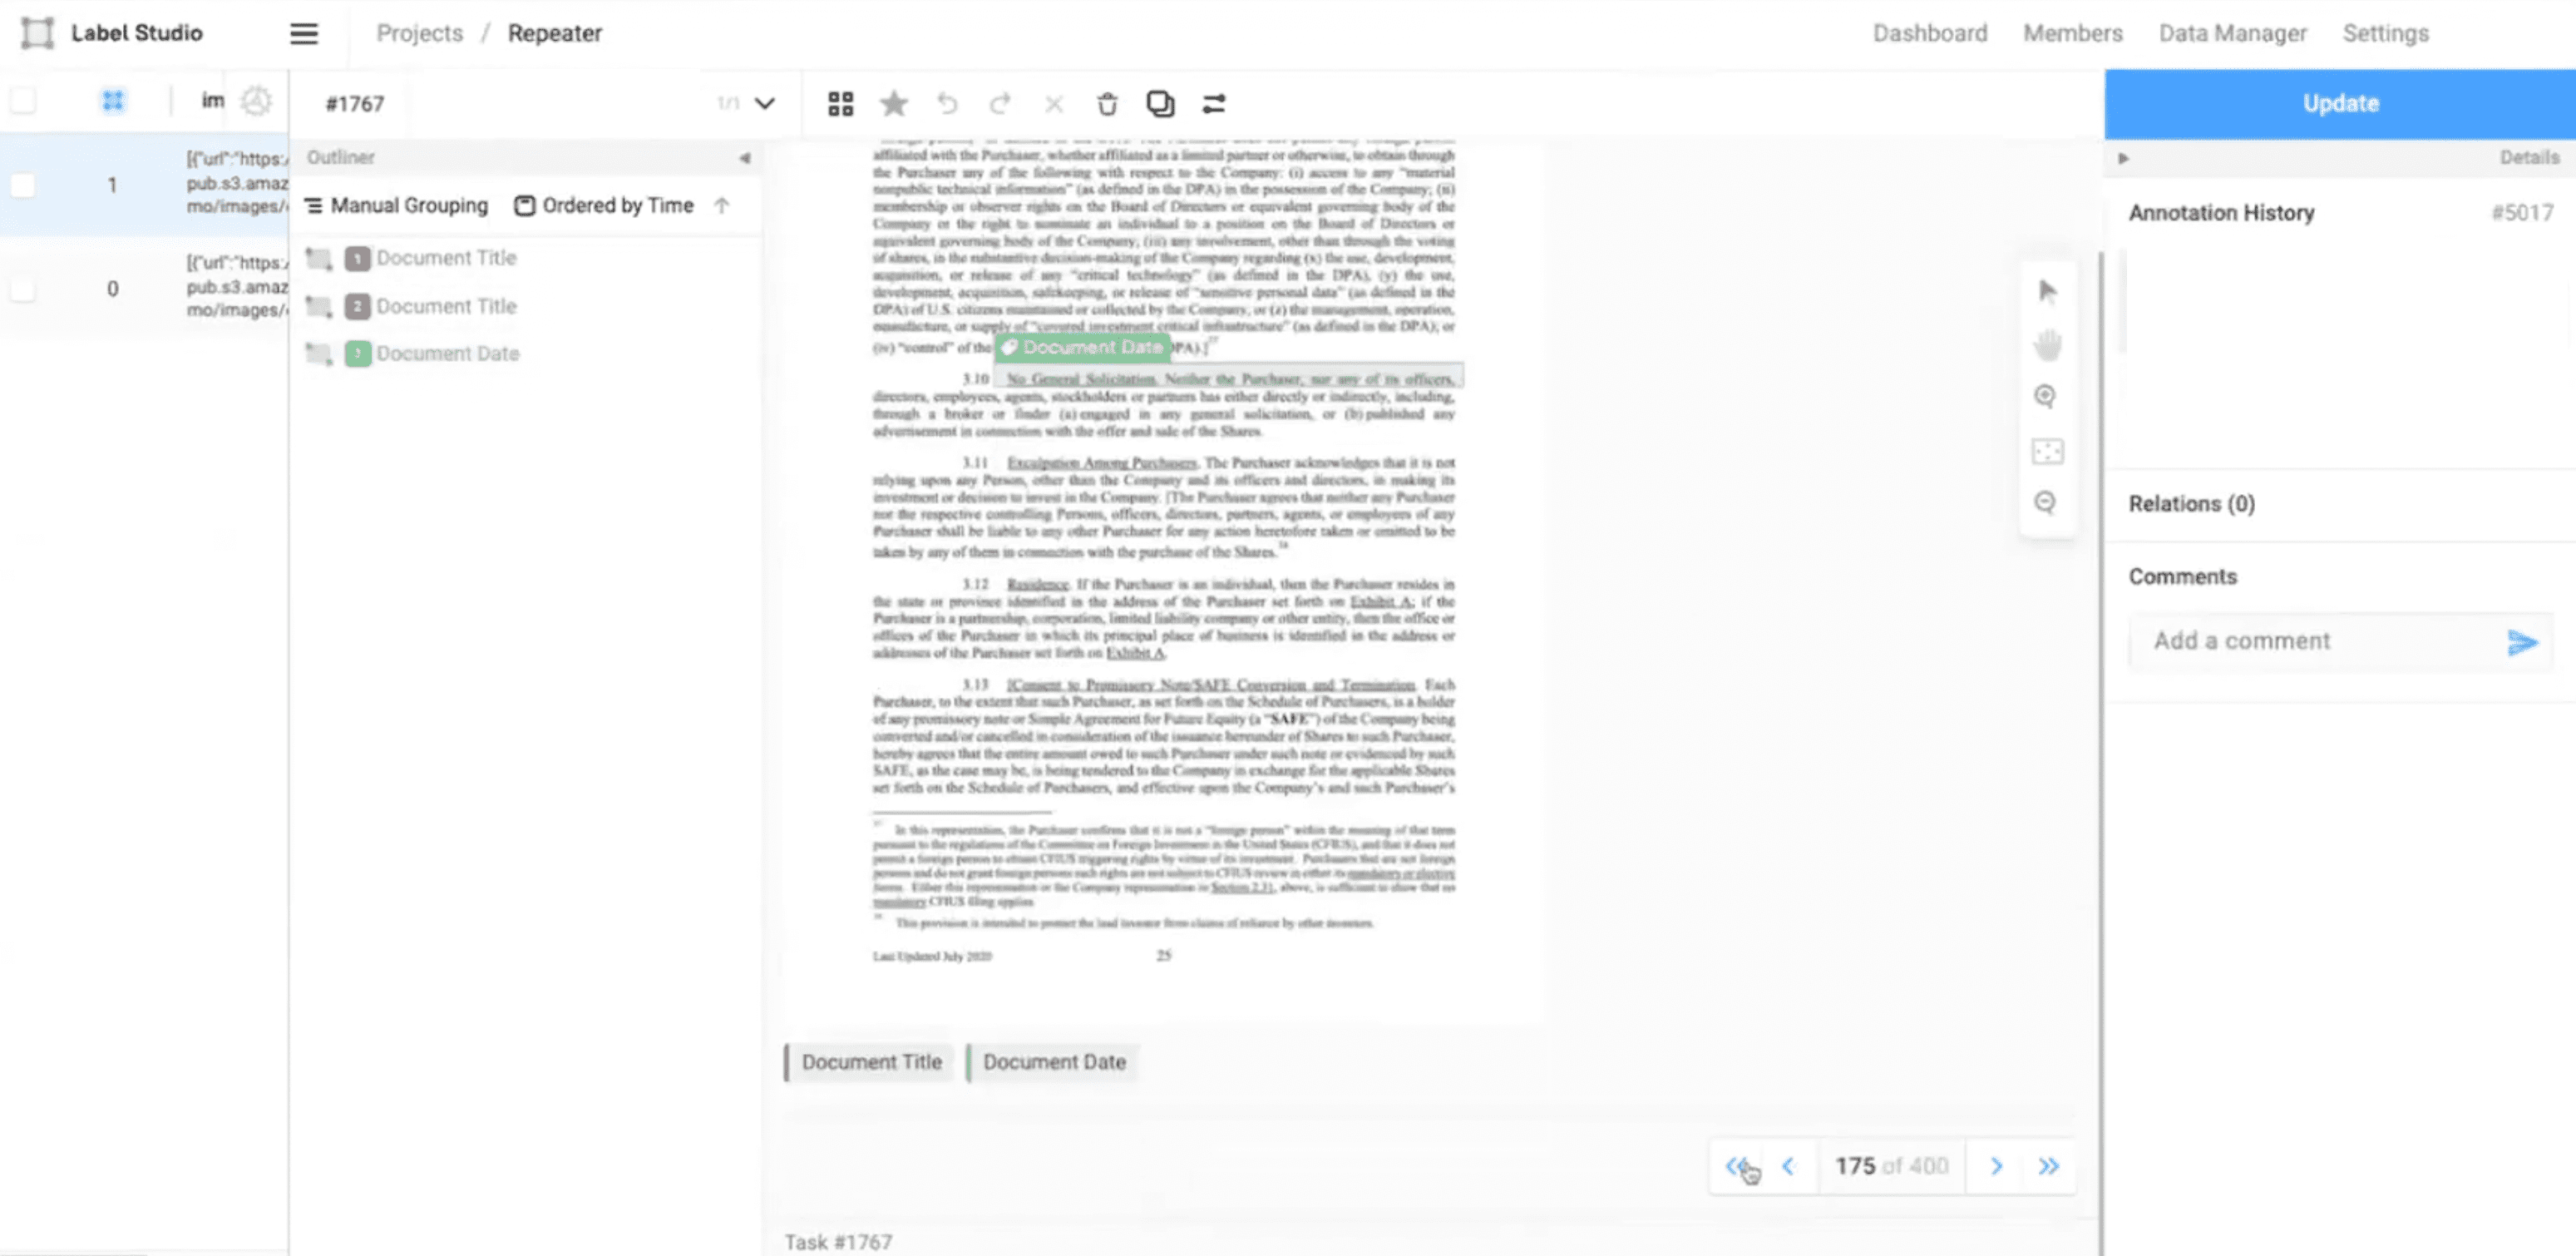
Figure 11: Button to navigate to the first page.
View of the first page using the navigation button.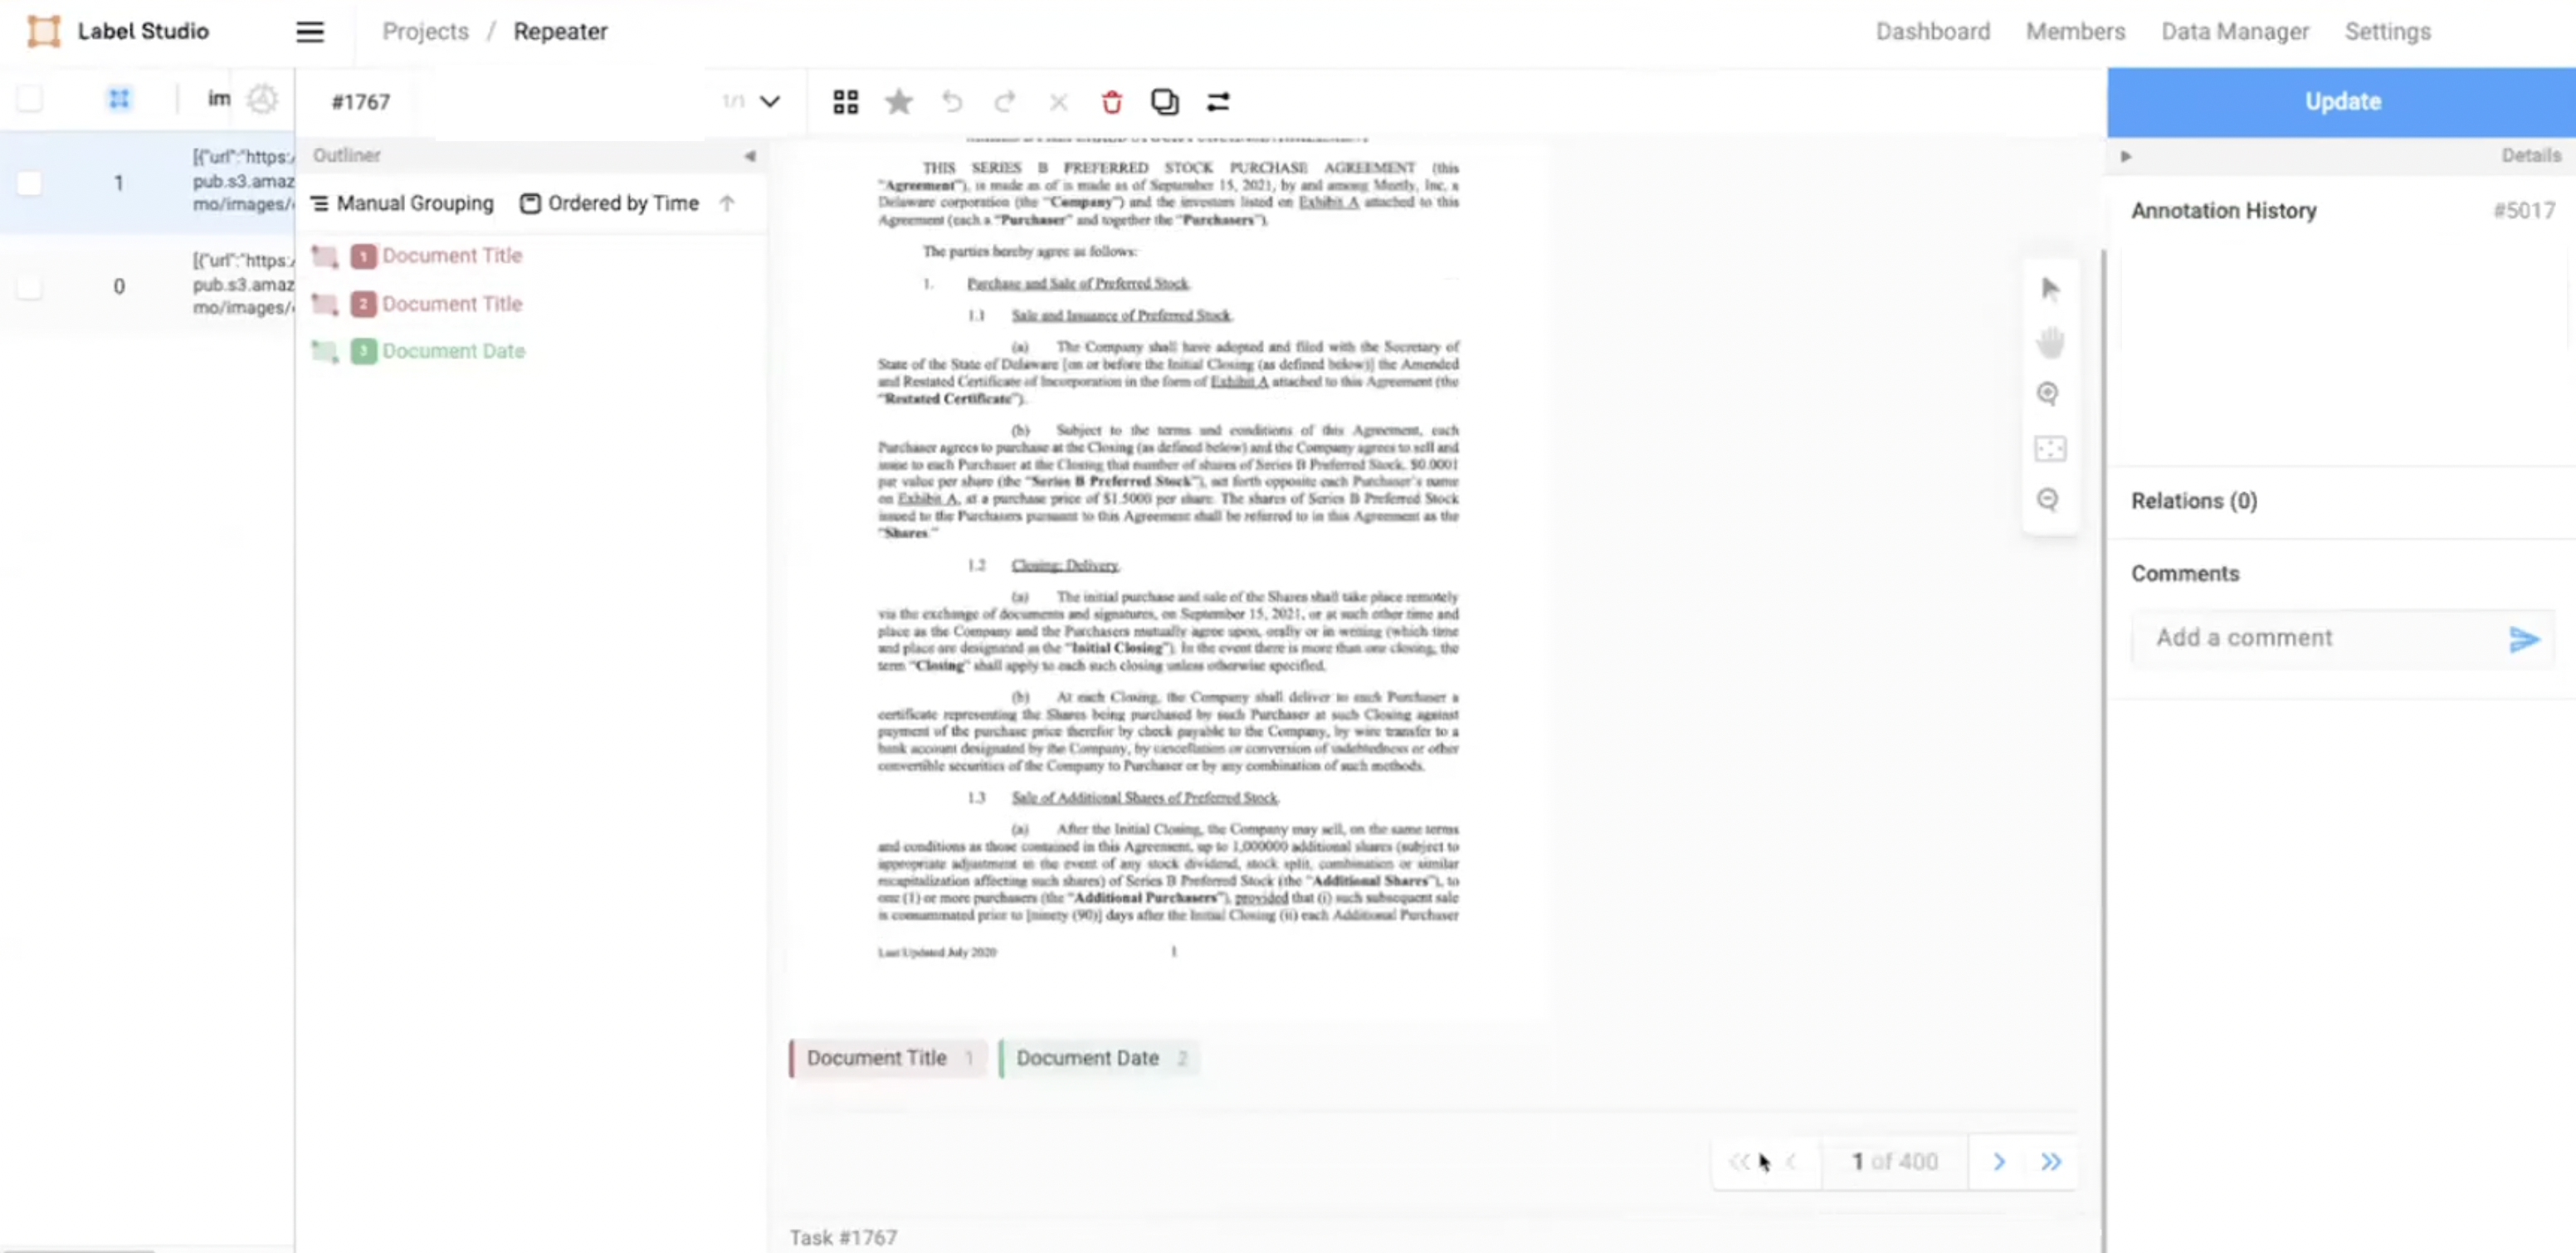
Figure 12: Navigated to the first page.
- Click the
>>button to navigate to the last page and click the>button to navigate to the next page in a multi-page document.
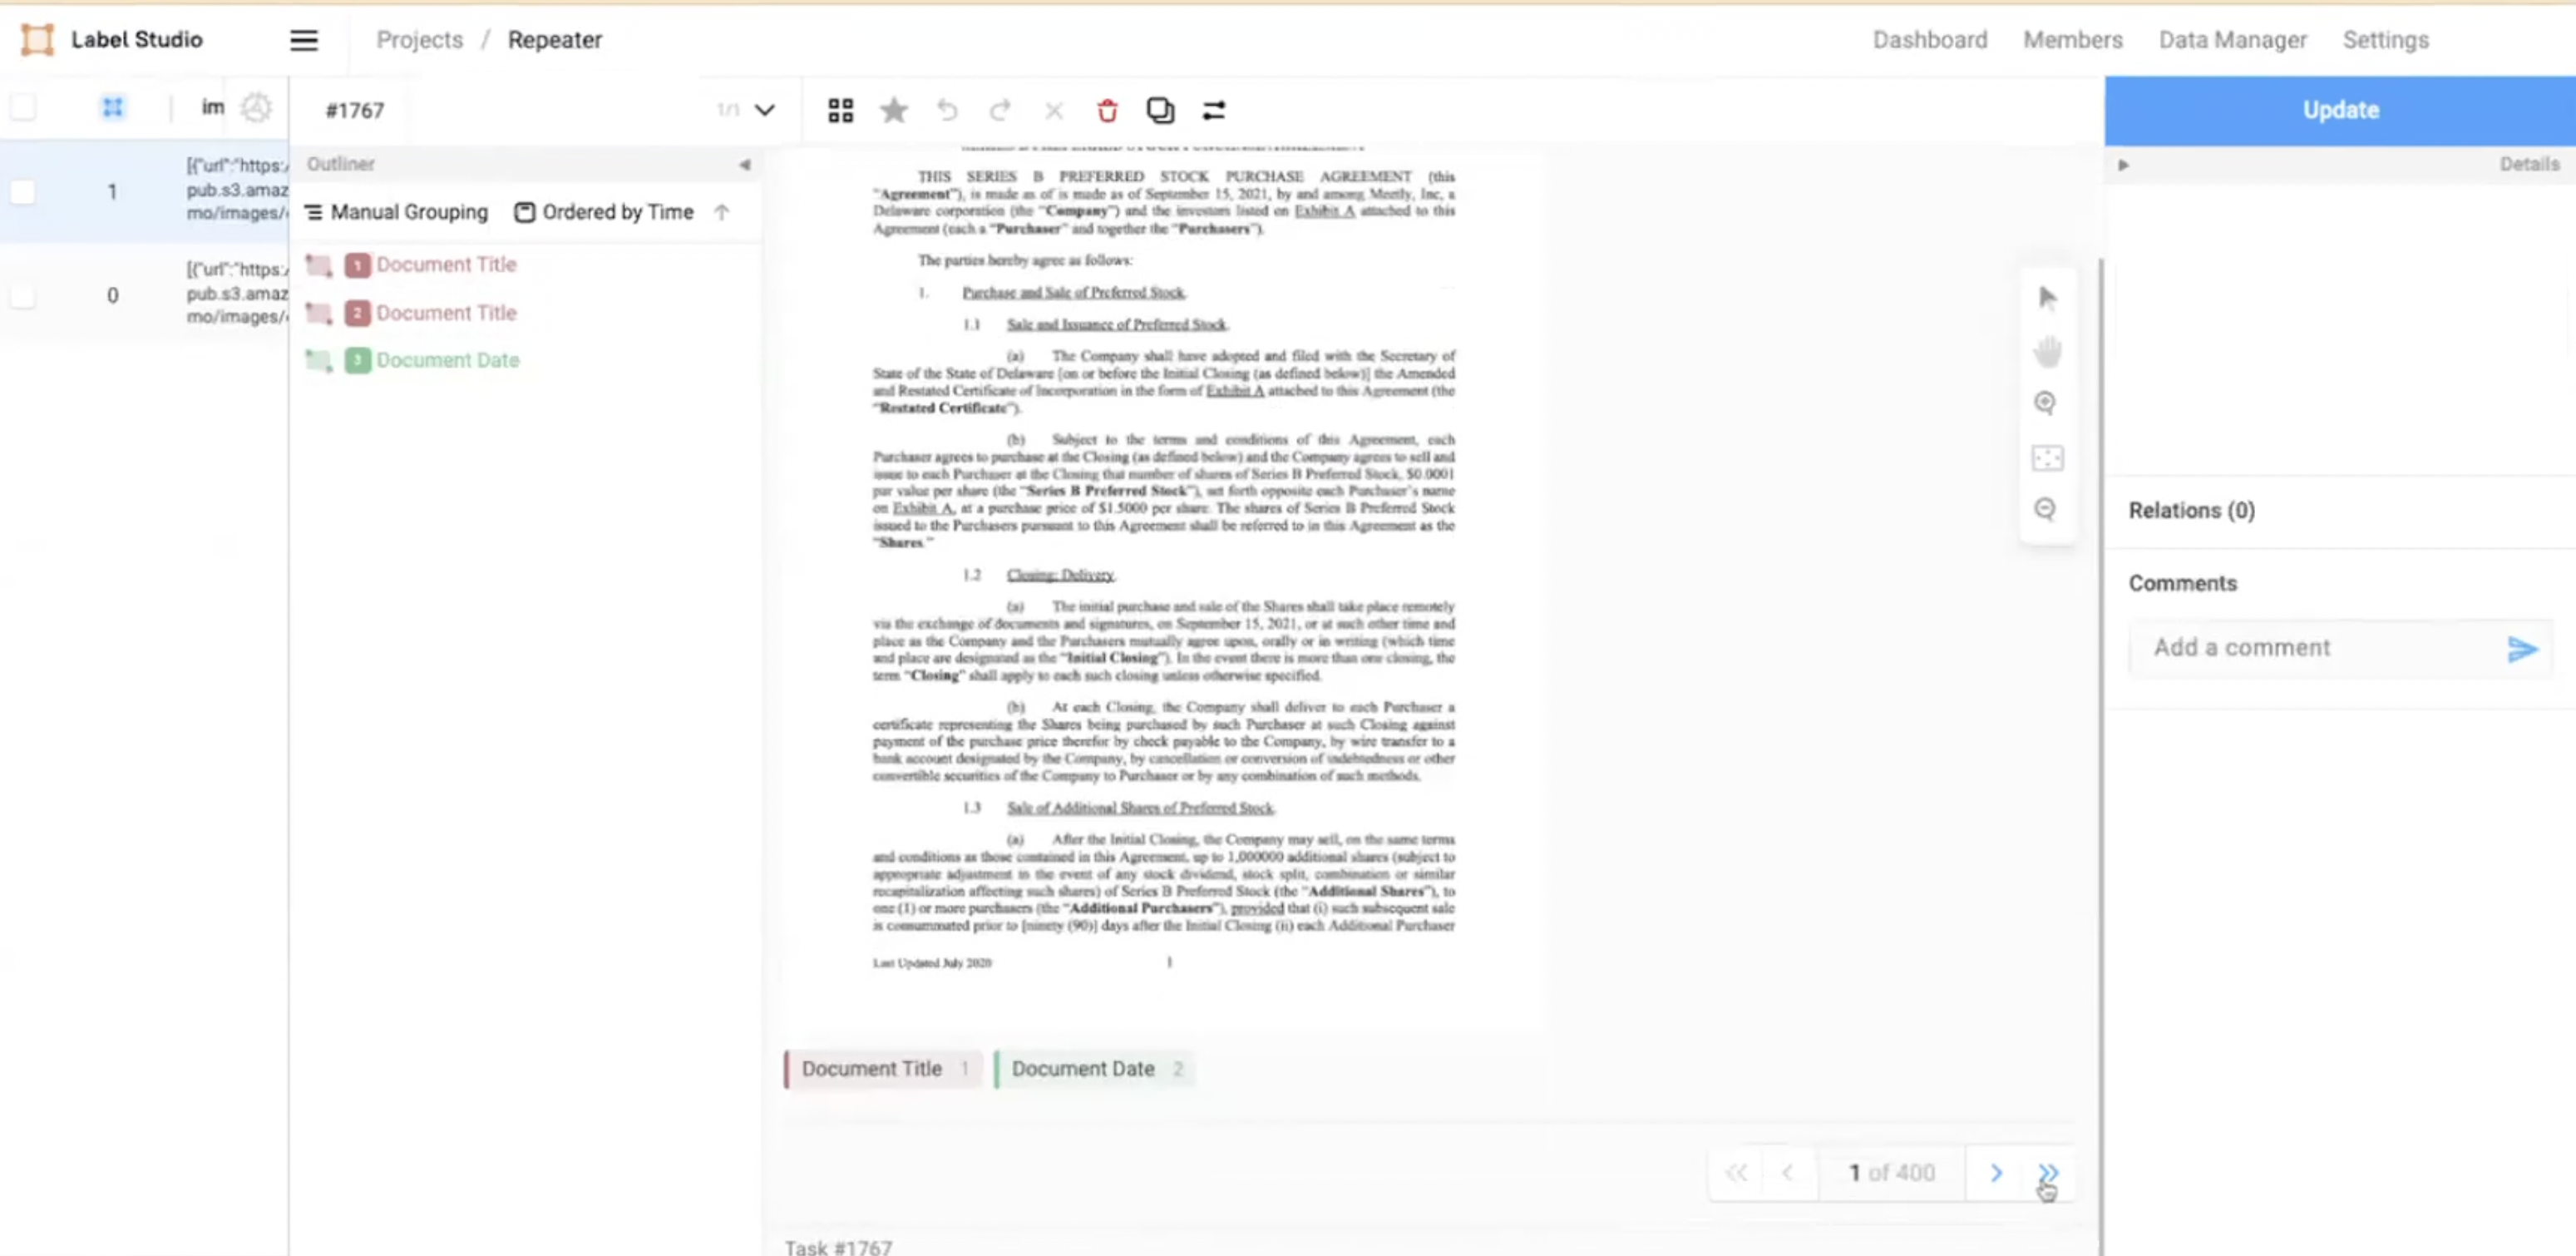
Figure 13: Button to navigate to the last page.
View of the last page using the navigation button.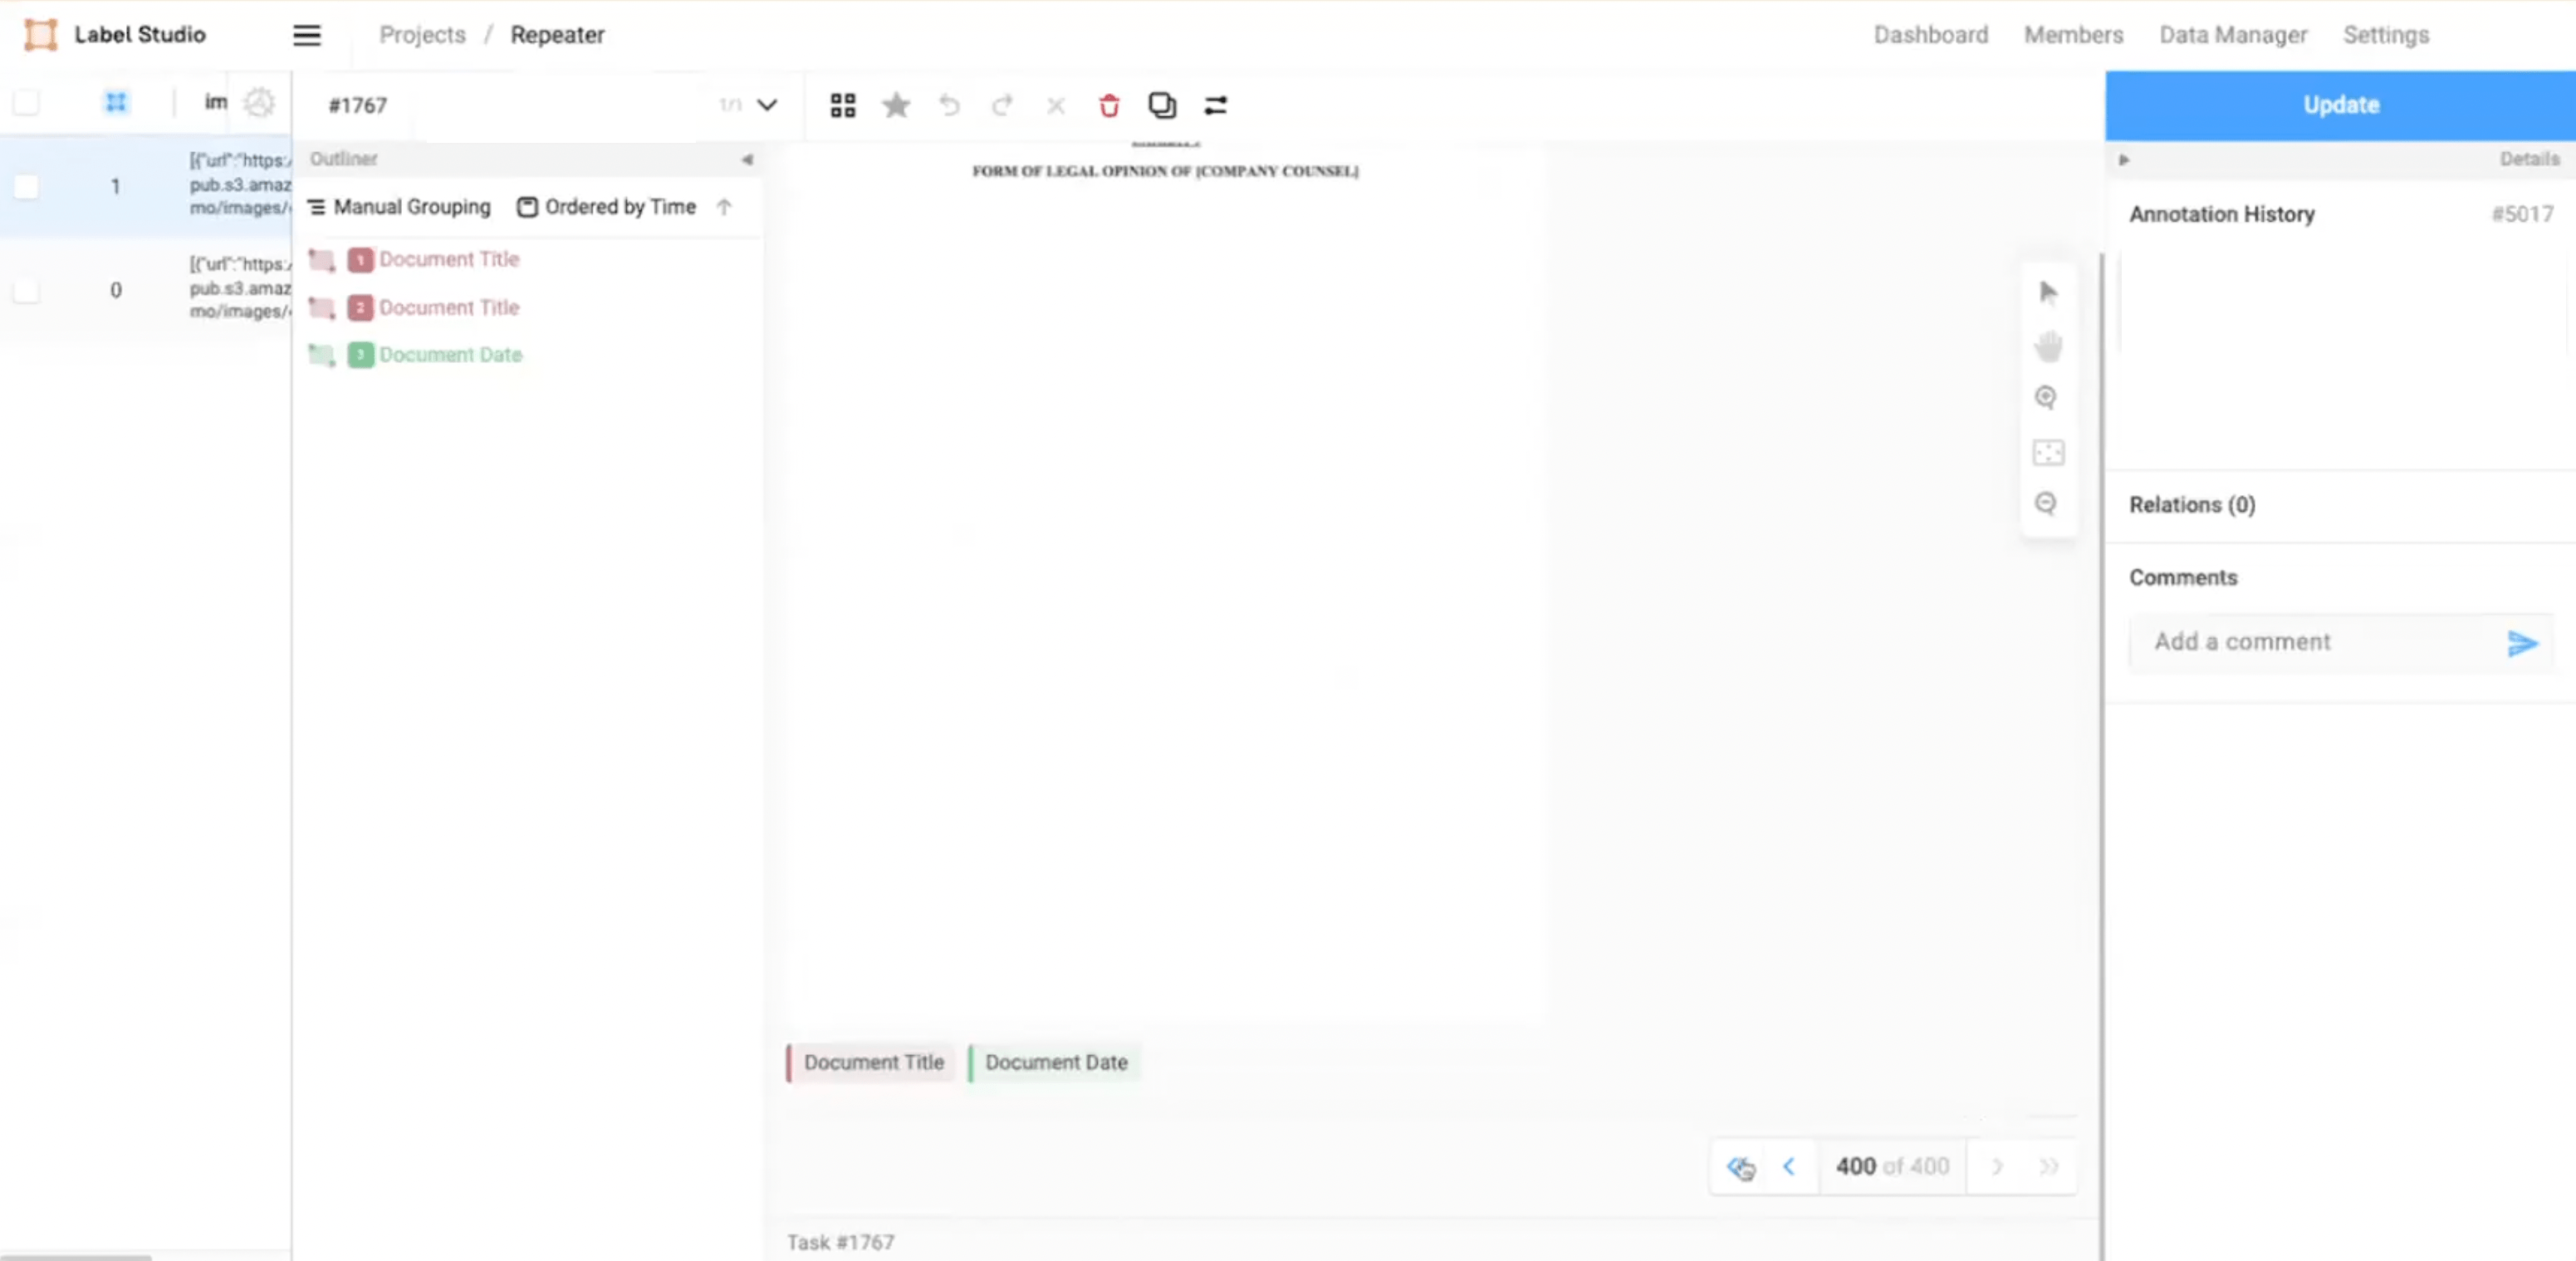
Figure 14: Navigated to the first page.
Page navigation with Outliner
To find a page or a specific page number, use the outliner feature.
Example of using outliner document title:
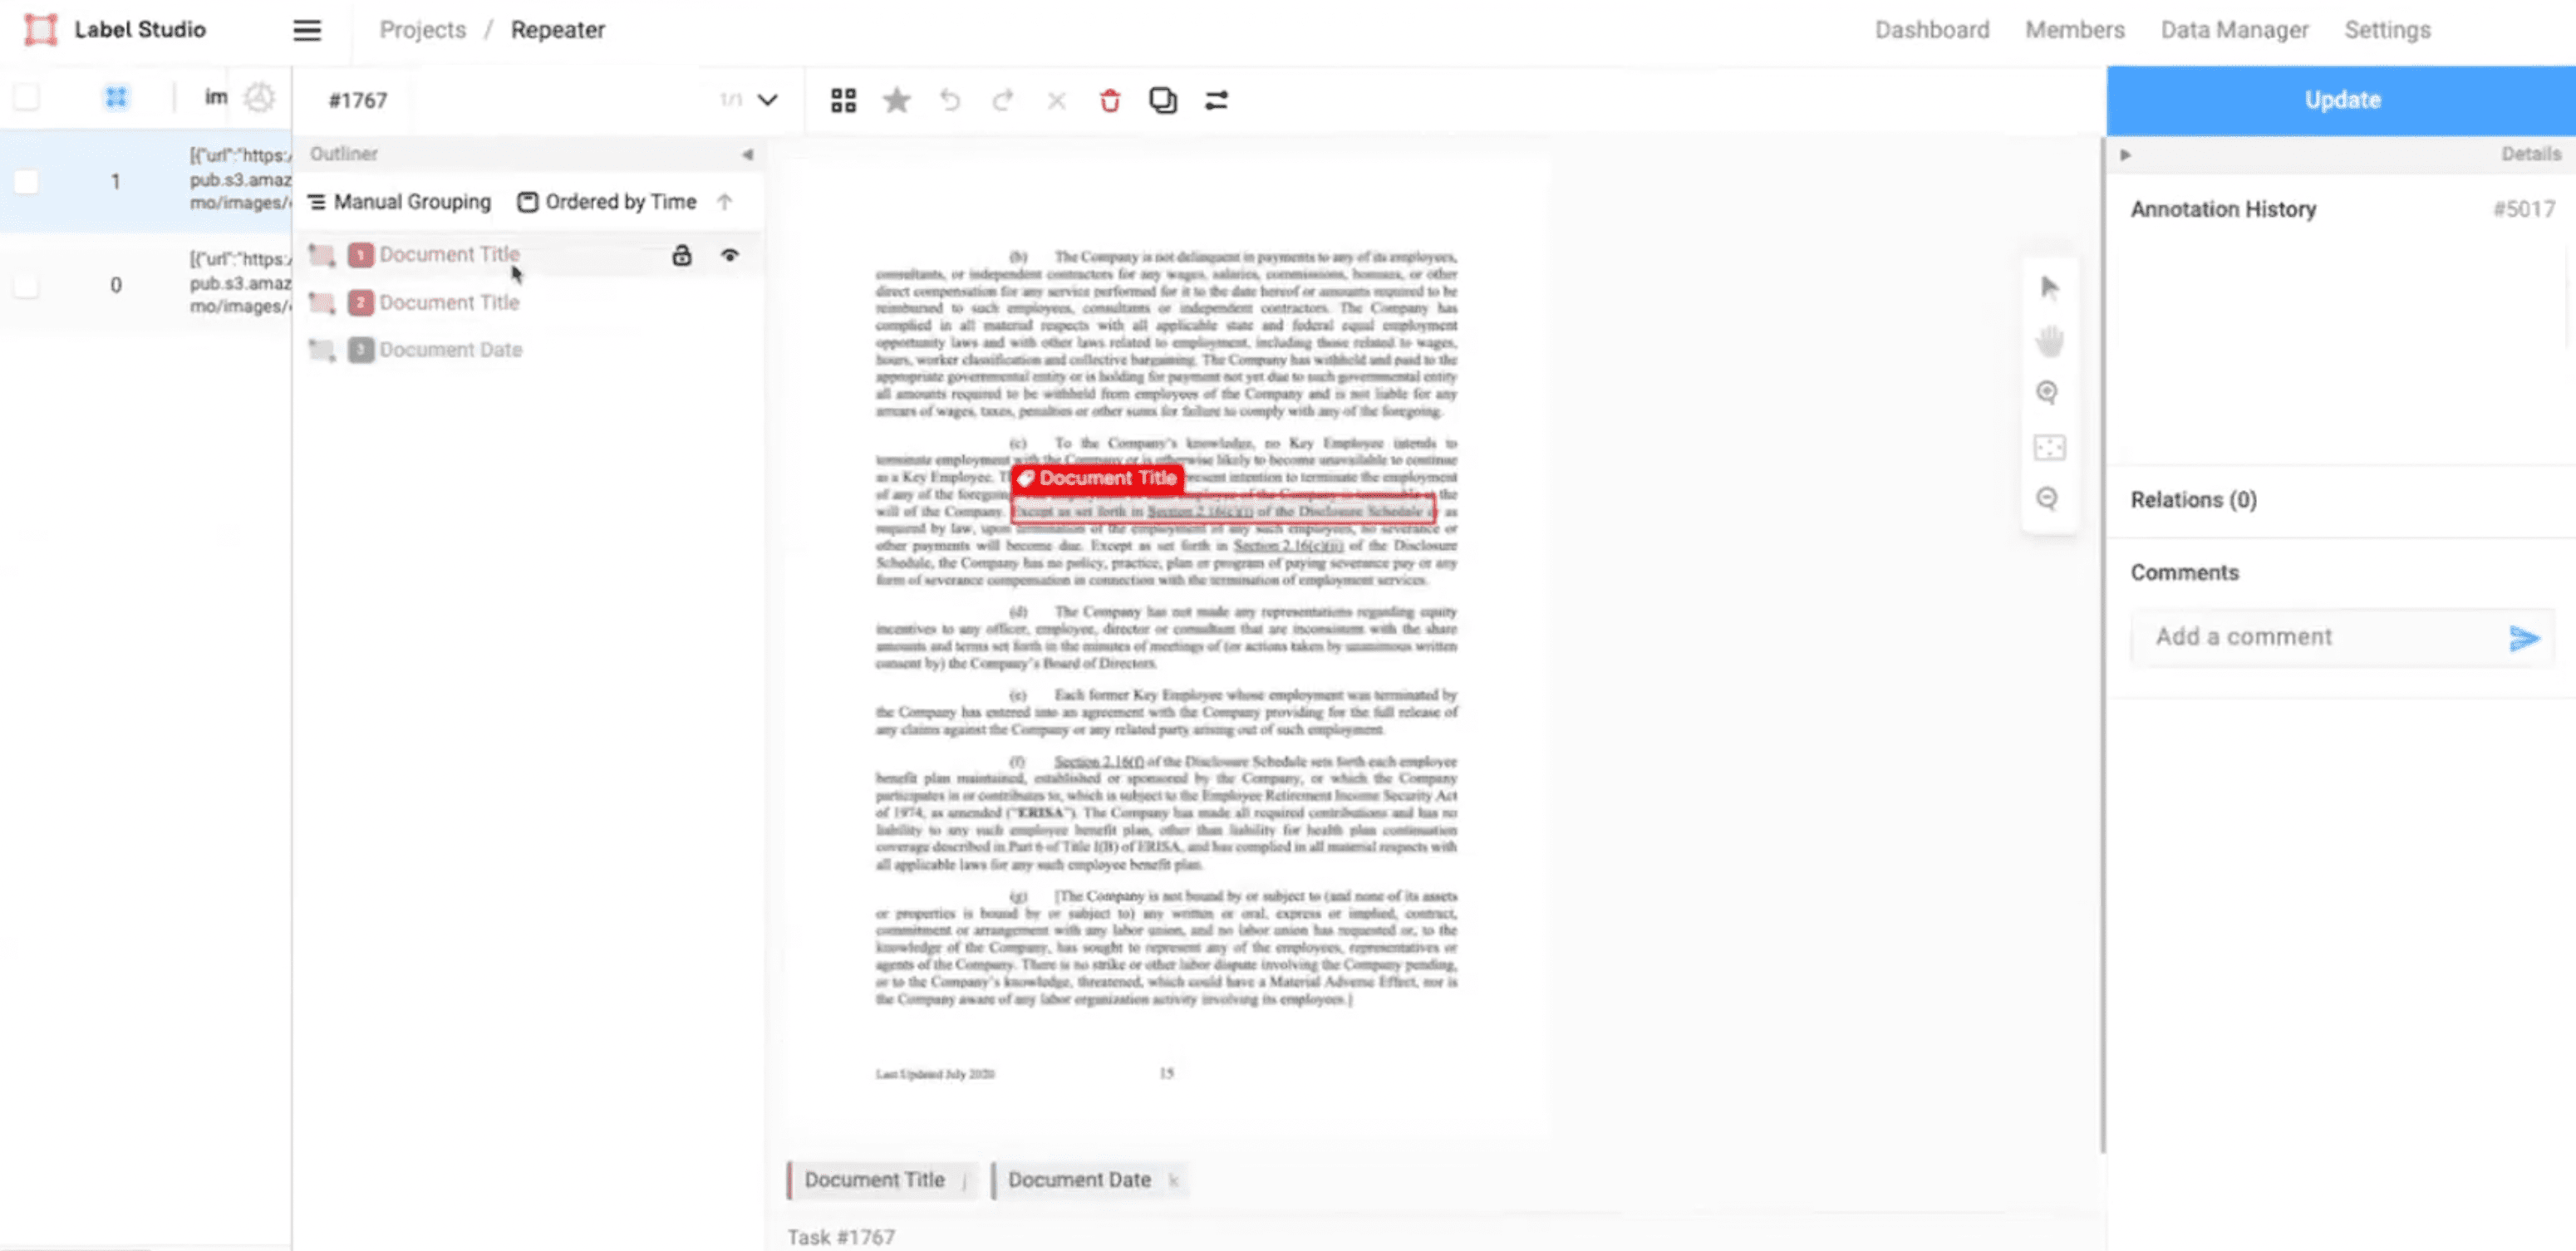 Figure 9: Navigate using outliner document title.